在这个快速入门中,我们将简短的介绍api单词和一些示例代码,这就是你想在15分钟内学习的Remix全部的内容。
环境准备
- node.js 14 或 更高
- npm 7 或 更高
- 一个代码编辑器
创建项目
初始化一个新的Remix项目
npx create-remix@latest# 选择Remix App Servernpm installnpm run dev# 打开 http://localhost:3000
你的第一个路由
添加一个/posts路由
// app/routes/index.tsximport { Link } from "remix";// 在你想要的地方 将以下代码写入tsx内<Link to="/posts">去Posts</Link>// 例如:export default function Index() {return (<Link to="/posts">去Posts</Link>)}
返回浏览器,单击链接。你应该会看到一个404页面,因为我们还未创建该路由。现在让我们来创建posts路由的代码文件
创建一个新文件 文件路径为 app/routes/posts/index.tsx
或者在命令行内输入以下命令mkdir app/routes/poststouch app/routes/posts/index.tsx
给posts路由编写UI
// app/routes/posts/index.tsxexport default function Posts() {return (<div><h1>Posts</h1></div>);}
刷新浏览器后再查看新的路由效果
加载数据
Remix中内置了数据加载
如果在过去的几年中你从事过web开发的话,你可能习惯在这里创建两个东西:一个提供数据的API路由和一个使用它的前端组件。但在Remix中,你的前端组件也是它自己的API路由,并且它已经知道如何通过浏览器在服务器上与自己通信,也就是说你不需要去获取它。
如果你的工作经验更久远,并且是使用像Rails这样落后一点的 MVC Web 框架,那么你可以把Remix路由看作是使用React进行模板制作的后台界面,但是它们知道如何在浏览器中无缝的添加一些特性,而不是编写前后端分离的jQuery代码来修饰用户交互,这就是渐进式增强的充分体现,此外你的路由就是它们自己的控制器。
写一个 posts 路由 loader
// app/routes/posts/index.tsximport { useLoaderData } from "remix";export const loader = async () => {return [{slug: "my-first-post",title: "My First Post"},{slug: "90s-mixtape",title: "A Mixtape I Made Just For You"}];};export default function Posts() {const posts = useLoaderData();console.log('posts', posts);return (<div><h1>Posts</h1></div>);}
loader是组件的后端API,它已经通过useLoaderData为你连接起来。在Remix路由中,客户端和服务器之间的界限有点模糊,如果你的服务器和浏览器的控制台都打开了,你会注意到它们都记录了我们的post数据,这是因为Remix在服务器上渲染,可以像传统的web框架一样发送一个完整的html,同样的它在客户端也记录这些。
在posts内渲染数据
添加Post类型和useloaderData范型,这样即使在网络请求中,也能获取可靠的类型安全性,因为它都是在同一个文件中定义的,除非在Remix的网络请求瘫痪了,否则这个组件和它的API都具有类型安全(请记住,该组件已经是它自己的API路由)
import { useLoaderData } from "remix";export type Post = {slug: string;title: string;};export const loader = async () => {const posts: Post[] = [{slug: "my-first-post",title: "My First Post",},{slug: "90s-mixtape",title: "A Mixtape I Made Just For You",},];return posts;};export default function Posts() {const posts = useLoaderData<Post[]>();console.log("posts", posts);return (<div><h1>Posts</h1></div>);}
重构:将异步获取数据逻辑抽离为getPosts
创建文件touch app/post.ts
// app/post.tsexport type Post = {slug: string;title: string;};export function getPosts() {const posts: Post[] = [{slug: "my-first-post",title: "My First Post"},{slug: "90s-mixtape",title: "A Mixtape I Made Just For You"}];return posts;}
// app/routes/posts/index.tsximport { useLoaderData } from "remix";import { getPosts } from "~/post";import type { Post } from "~/post";export const loader = async () => {return getPosts();};export default function Posts() {const posts = useLoaderData<Post[]>();console.log("posts", posts);return (<div><h1>Posts</h1></div>);}
从markdown文件中获取数据
在本章节,我们将只使用文件系统,从中读取数据。
# 在项目的根目录创建一个 posts 文件夹mkdir posts# 添加一些posts文件touch posts/my-first-post.mdtouch posts/my-second.md
写一些你想要的东西进去,但要确保它们的包含标题 my-first-post.md
---title: My First Post---# This is my first postIsn't it great?
my-second.md
---title: My Second Post---# 90s Mixtape- I wish (Skee-Lo)- This Is How We Do It (Montell Jordan)- Everlong (Foo Fighters)- Ms. Jackson (Outkast)- Interstate Love Song (Stone Temple Pilots)- Killing Me Softly With His Song (Fugees, Ms. Lauryn Hill)- Just a Friend (Biz Markie)- The Man Who Sold The World (Nirvana)- Semi-Charmed Life (Third Eye Blind)- ...Baby One More Time (Britney Spears)- Better Man (Pearl Jam)- It's All Coming Back to Me Now (Céline Dion)- This Kiss (Faith Hill)- Fly Away (Lenny Kravits)- Scar Tissue (Red Hot Chili Peppers)- Santa Monica (Everclear)- C'mon N' Ride it (Quad City DJ's)
# 解析md文件npm add front-matter# 校验数据真假npm add tiny-invariant
// app/post.tsimport path from "path";import fs from "fs/promises";import parseFrontMatter from "front-matter";import invariant from "tiny-invariant";export type Post = {slug: string;title: string;};// post md文件属性export type PostMarkdownAttributes = {title: string;};/*** post文件夹路径* path.join(__dirname, "..", "posts") 这段官方代码文件路径有误*/// const postsPath = path.join(__dirname, "..", "posts");const postsPath = path.resolve("posts");/*** 校验md文件是否有title属性*/function isValidPostAttributes(attributes: any): attributes is PostMarkdownAttributes {return attributes?.title;}export async function getPosts() {// 读取文件夹const dir = await fs.readdir(postsPath);return Promise.all(dir.map(async (filename) => {const file = await fs.readFile(path.join(postsPath, filename));// 格式化md文件 读取文件元属性const { attributes } = parseFrontMatter(file.toString());// 如果md文件不包含校验的属性 就会抛出错误提示invariant(isValidPostAttributes(attributes),`${filename} 有错误的元数据`);return {slug: filename.replace(/\.md$/, ""),title: attributes?.title,};}));}
动态路由参数
本章节我们将实现以下两个路由/posts/my-first-post/posts/my-second-post
我们可以在url中使用动态变量,而不是为每一个文章创建一个新的路由,Remix会解析并传给我们,让我们可以动态的查询路由
touch app/routes/posts/\$slug.tsx
// app/routes/posts/\$slug.tsximport { useLoaderData } from "remix";import type { LoaderFunction } from "remix";import invariant from "tiny-invariant";import { getPost } from "~/post";export type Post = {slug: string;title: string;};export const loader: LoaderFunction = async ({ params }) => {invariant(params.slug, "expected params.slug");return getPost(params.slug);};export default function PostSlug() {const post = useLoaderData<Post>();console.log("post", post);return (<div><h1>{post.title}</h1></div>);}import { useLoaderData } from "remix";import type { LoaderFunction } from "remix";import invariant from "tiny-invariant";import { getPost } from "~/post";export const loader: LoaderFunction = async ({ params }) => {invariant(params.slug, "expected params.slug");return getPost(params.slug);};export default function PostSlug() {const post = useLoaderData();return (<div><h1>{post.title}</h1></div>);}
// app/post.tsimport path from "path";import fs from "fs/promises";import parseFrontMatter from "front-matter";import invariant from "tiny-invariant";export type Post = {slug: string;title: string;};// post md文件属性export type PostMarkdownAttributes = {title: string;};/*** post文件夹路径* path.join(__dirname, "..", "posts") 这段官方代码文件路径有误*/// const postsPath = path.join(__dirname, "..", "posts");const postsPath = path.resolve("posts");/*** 校验md文件是否有title属性*/function isValidPostAttributes(attributes: any): attributes is PostMarkdownAttributes {return attributes?.title;}export async function getPost(slug: string) {const filepath = path.join(postsPath, slug + ".md");const file = await fs.readFile(filepath);const { attributes } = parseFrontMatter(file.toString());invariant(isValidPostAttributes(attributes),`Post ${filepath} is missing attributes`);return { slug, title: attributes.title };}export async function getPosts() {// 读取文件夹const dir = await fs.readdir(postsPath);return Promise.all(dir.map(async (filename) => {const file = await fs.readFile(path.join(postsPath, filename));// 格式化md文件 读取文件元属性const { attributes } = parseFrontMatter(file.toString());// 如果md文件不包含校验的属性 就会抛出错误提示invariant(isValidPostAttributes(attributes),`${filename} 有错误的元数据`);return {slug: filename.replace(/\.md$/, ""),title: attributes?.title,};}));}
// app/routes/posts/index.tsximport { useLoaderData } from "remix";import { getPosts } from "~/post";import type { Post } from "~/post";export const loader = async () => {return getPosts();};export default function Posts() {const posts = useLoaderData<Post[]>();console.log("posts", posts);return (<div><h1>Posts</h1></div>);}
个人博客效果
效果: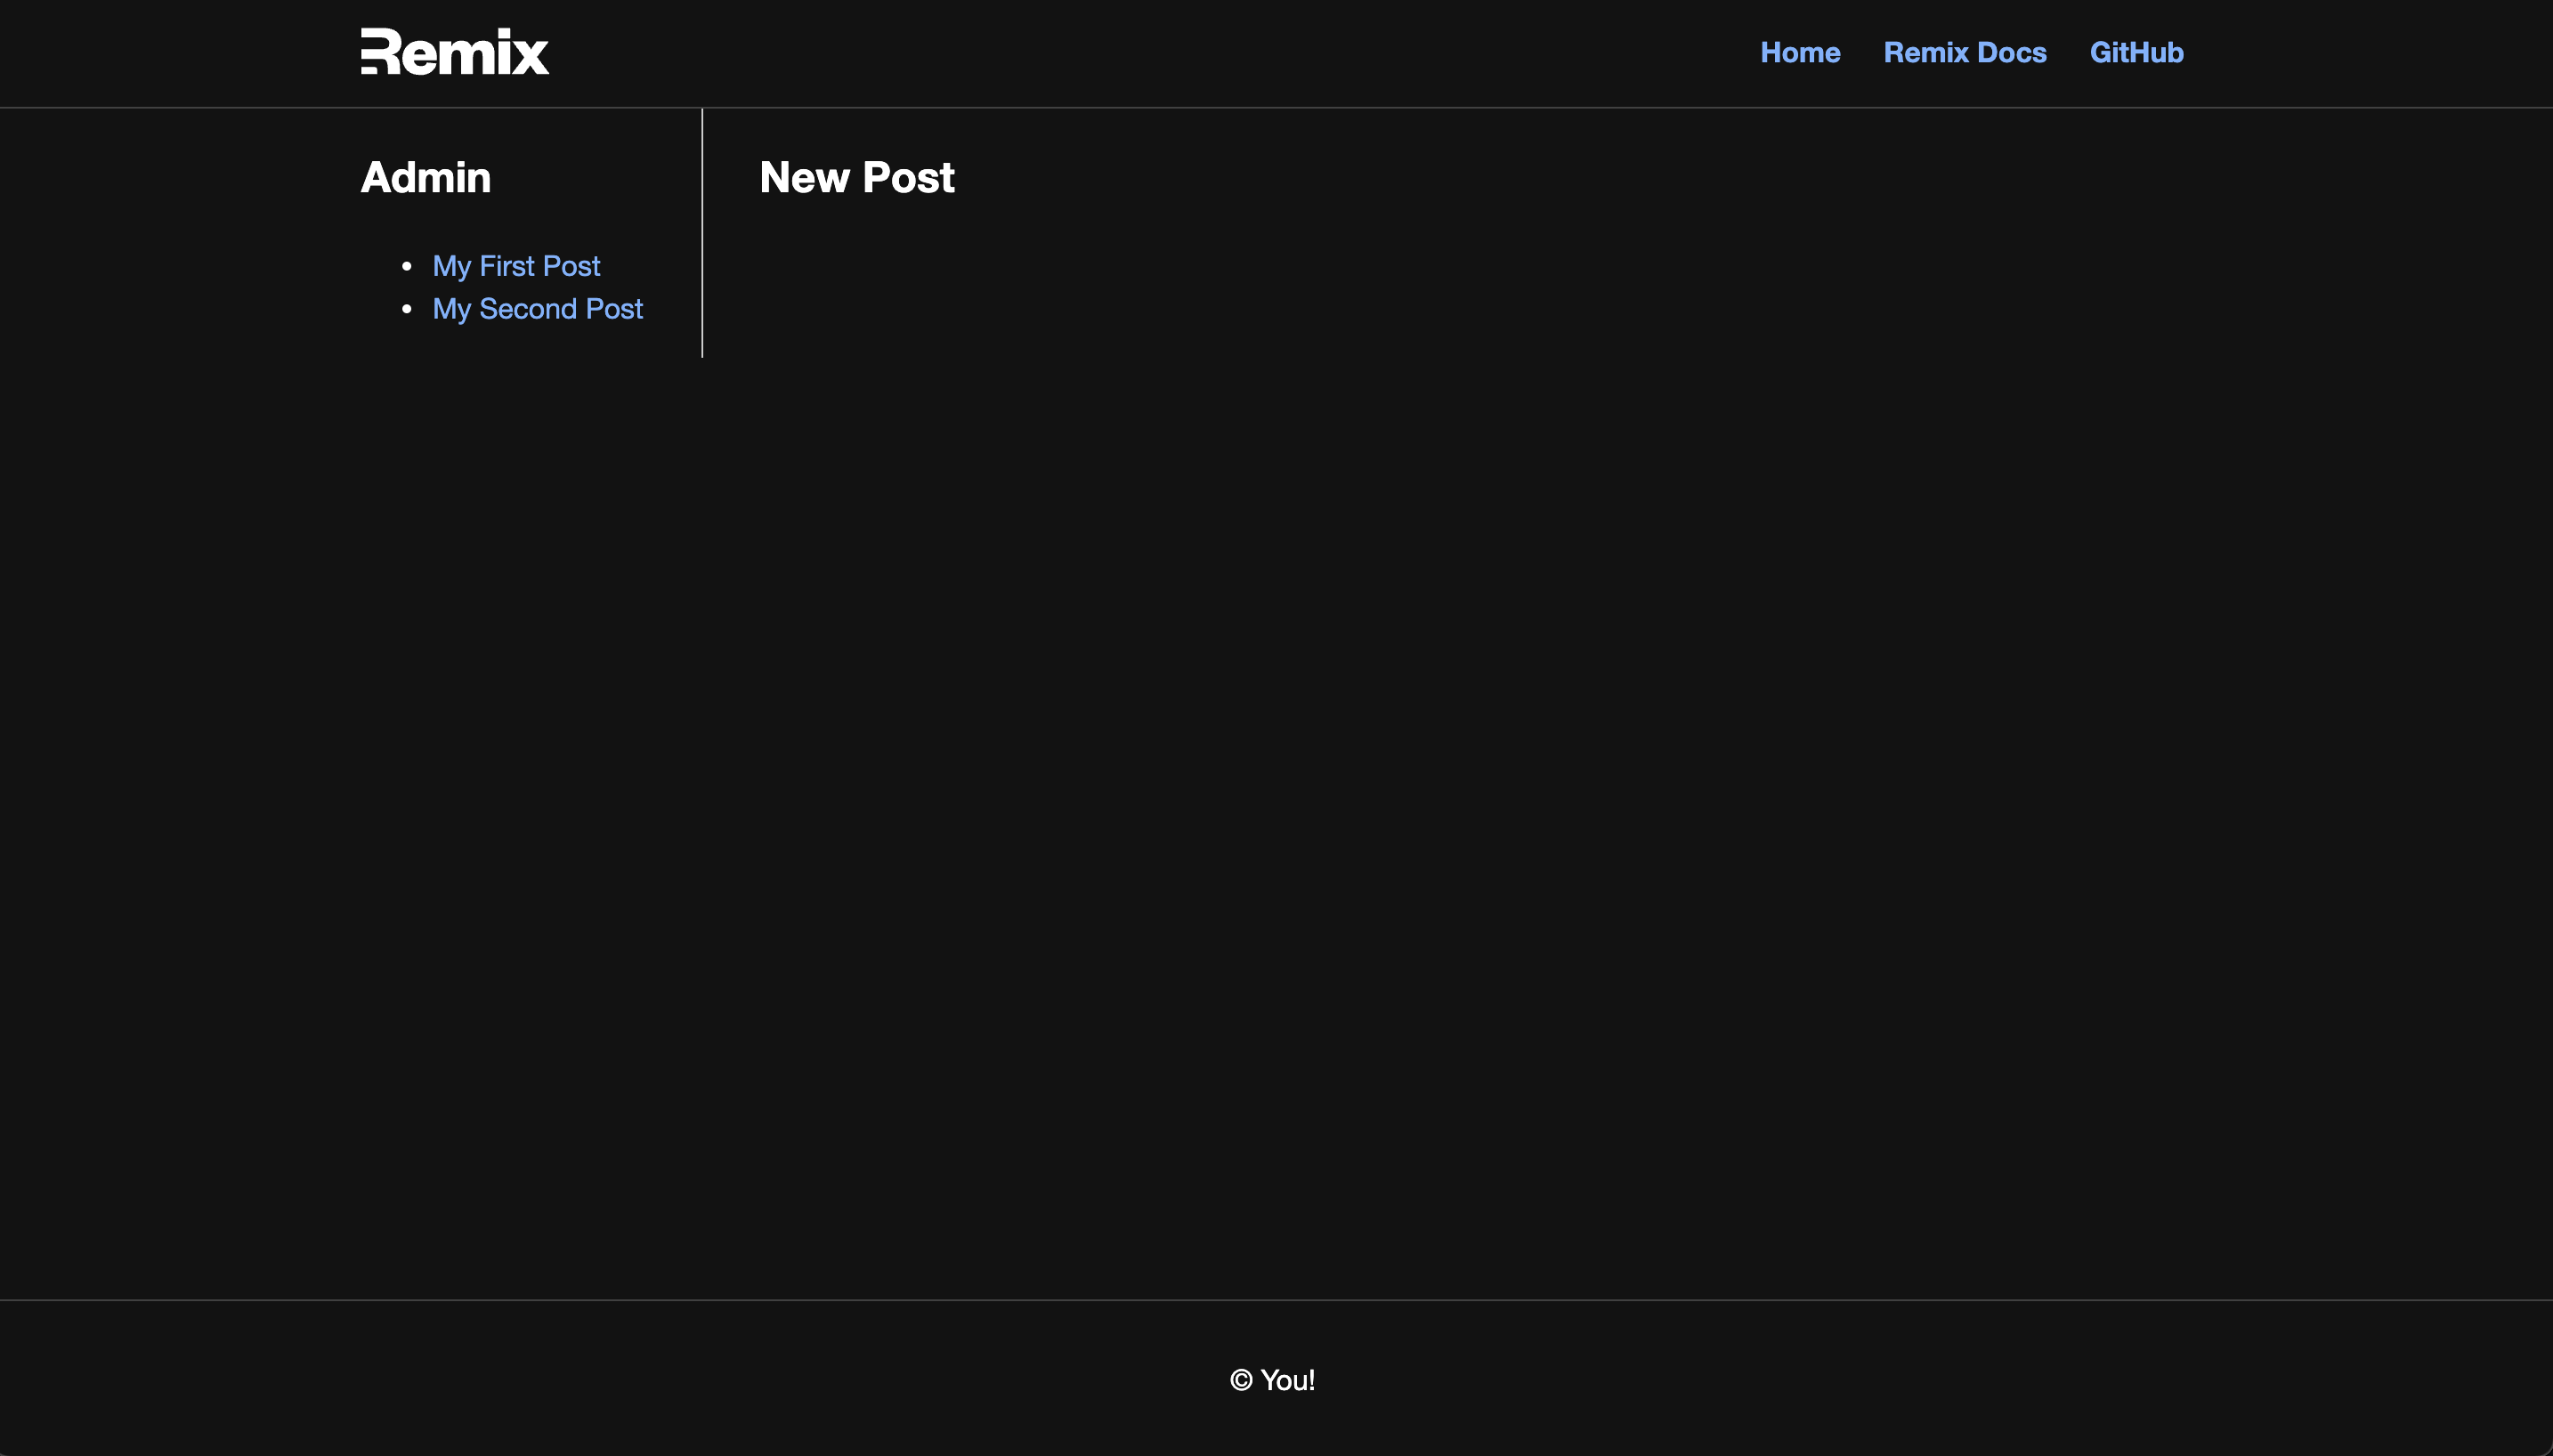
mkdir app/stylestouch app/styles/admin.csstouch app/routes/admin.tsx
.admin {display: flex;}.admin > nav {padding-right: 2rem;}.admin > main {flex: 1;border-left: solid 1px #ccc;padding-left: 2rem;}em {color: red;}
// app/routes/admin.tsximport { Link, useLoaderData } from "remix";import { getPosts } from "~/post";import type { Post } from "~/post";import adminStyles from "~/styles/admin.css";export const links = () => {return [{ rel: "stylesheet", href: adminStyles }];};export const loader = async () => {return getPosts();};export default function Admin() {const posts = useLoaderData<Post[]>();return (<div className="admin"><nav><h1>Admin</h1><ul>{posts.map((post) => (<li key={post.slug}><Link to={`/posts/${post.slug}`}>{post.title}</Link></li>))}</ul></nav><main>...</main></div>);}
访问:http://localhost:3000/admin 查看效果
嵌套路由
在上一章 在routes/admin.tsx 匹配了 /admin 路由地址在本章节将基于上一章的代码来演示如何编写 /admin的子路由 /admin/news
# 首先在routes下创建admin文件夹,并在目录下创建index.tsx文件# 之前的 /routes/admin.tsx不用删除 我们将在此处添加子路由入口mkdir app/routes/admintouch app/routes/admin/index.tsx
// app/routes/admin/index.tsximport { Link } from "remix";export default function AdminIndex() {return (<p><Link to="new">Create a New Post</Link></p>);}
写完以上代码后 即使你刷新浏览器也不会看到它,因为你还没给这段代码放置一个出口
// app/routes/admin.tsximport { Outlet, Link, useLoaderData } from "remix";// ...省略代码别复制export default function Admin() {// ......省略代码别复制return (// ... 省略部分tsx代码<main>// 将Outlet组件放在你想让你的子路由代码展现的位置、// 这里会将 app/routes/admin/**.tsx 映射为对应的 /admin/** 路由地址// 对应的子路由文件内的tsx将会在Outlet处渲染<Outlet /></main>)}

在线写博客
本章节将会演示如何在/admin/new中使用表单创建新的markdown文件
// /app/post.ts// 在之前代码后面添加以下代码type NewPost = {title: string;slug: string;markdown: string;};export async function createPost(post: NewPost) {const md = `---\ntitle: ${post.title}\n---\n\n${post.markdown}`;await fs.writeFile(path.join(postsPath, post.slug + ".md"), md);return getPost(post.slug);}
// app/routes/admin/new.tsximport { useActionData, Form, redirect } from "remix";import type { ActionFunction } from "remix";import invariant from "tiny-invariant";import { createPost } from "~/post";type PostError = {title?: boolean;slug?: boolean;markdown?: boolean;};export const action: ActionFunction = async ({ request }) => {await new Promise((res) => setTimeout(res, 1000));const formData = await request.formData();const title = formData.get("title");const slug = formData.get("slug");const markdown = formData.get("markdown");const errors: PostError = {};if (!title) errors.title = true;if (!slug) errors.slug = true;if (!markdown) errors.markdown = true;if (Object.keys(errors).length) {return errors;}invariant(typeof title === "string");invariant(typeof slug === "string");invariant(typeof markdown === "string");await createPost({ title, slug, markdown });return redirect("/admin");};export default function NewPost() {const errors = useActionData();return (<Form method="post"><p><label>Post Title: {errors?.title ? <em>Title is required</em> : null}{" "}<input type="text" name="title" /></label></p><p><label>Post Slug: {errors?.slug ? <em>Slug is required</em> : null}{" "}<input type="text" name="slug" /></label></p><p><label htmlFor="markdown">Markdown:</label>{" "}{errors?.markdown ? <em>Markdown is required</em> : null}<br /><textarea id="markdown" rows={20} name="markdown" /></p><p><button type="submit">Create Post</button></p></Form>);}
源码
my-remix.zip
这份代码不是根据教程的命令行生成的,而是使用vercel创建的模板
但本章节读取文件的代码在vercel是不生效的,在vercel的server less function 是不支持文件系统api访问的,但不要担心,源码可在本地环境访问,最后请勿用在生产环境。

若有收获,就点个赞吧
0 人点赞
