第一个Wagtail站点
注意 此教程讲的是有关建立一个全新Wagtail项目的内容。如要将Wagtail加入到某个既有Django项目,请参考将Wagtail集成到Django项目。
- 安装 Wagtail 与其依赖:
$ pip install wagtail
- 开始你的站点:
$ wagtail start mysite$ cd mysite
Wagtail提供了与django-admin.py startproject 类似的 start 命令。在项目中运行 wagtail start mysite将生成一个新的、有着几个特定于 Wagtail 的附加文件的 mysite 文件夹,这些文件包括了:
- 所需的项目设置
- 一个有着空白的
HomePage模型的“主页”应用 - 一些基础模板
- 一个简单的“搜索”应用。
- 安装项目依赖
$ pip install -r requirements.txt
此步骤确保刚创建的项目具有相关版本的Django
- 创建数据库
$ ./manage.py migrate
在没有更新项目设置时,数据库将是项目目录中的一个 SQLite 数据库文件。
- 创建出一个管理员用户
$ ./manage.py createsuperuser
- 启动服务器
$ ./manage.py runserver
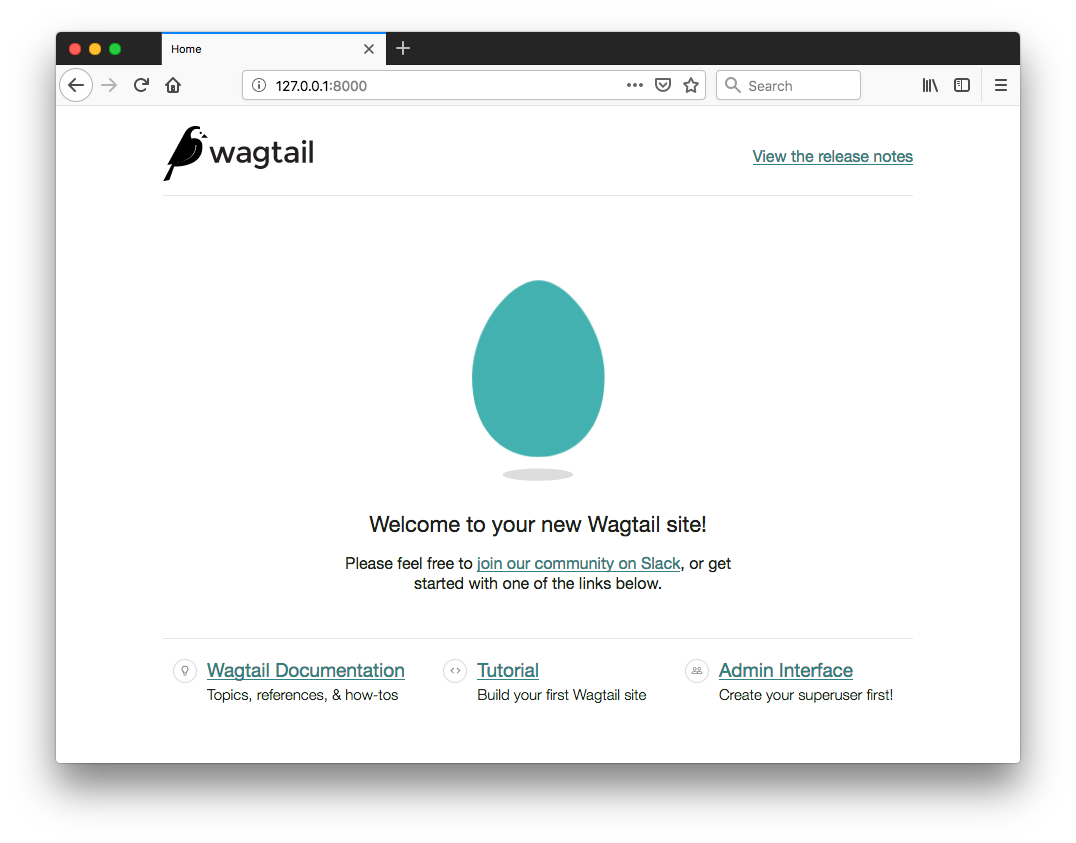
如没有什么错误的话,访问 http://127.0.0.1:8000 就可以看到一个欢迎页面了:
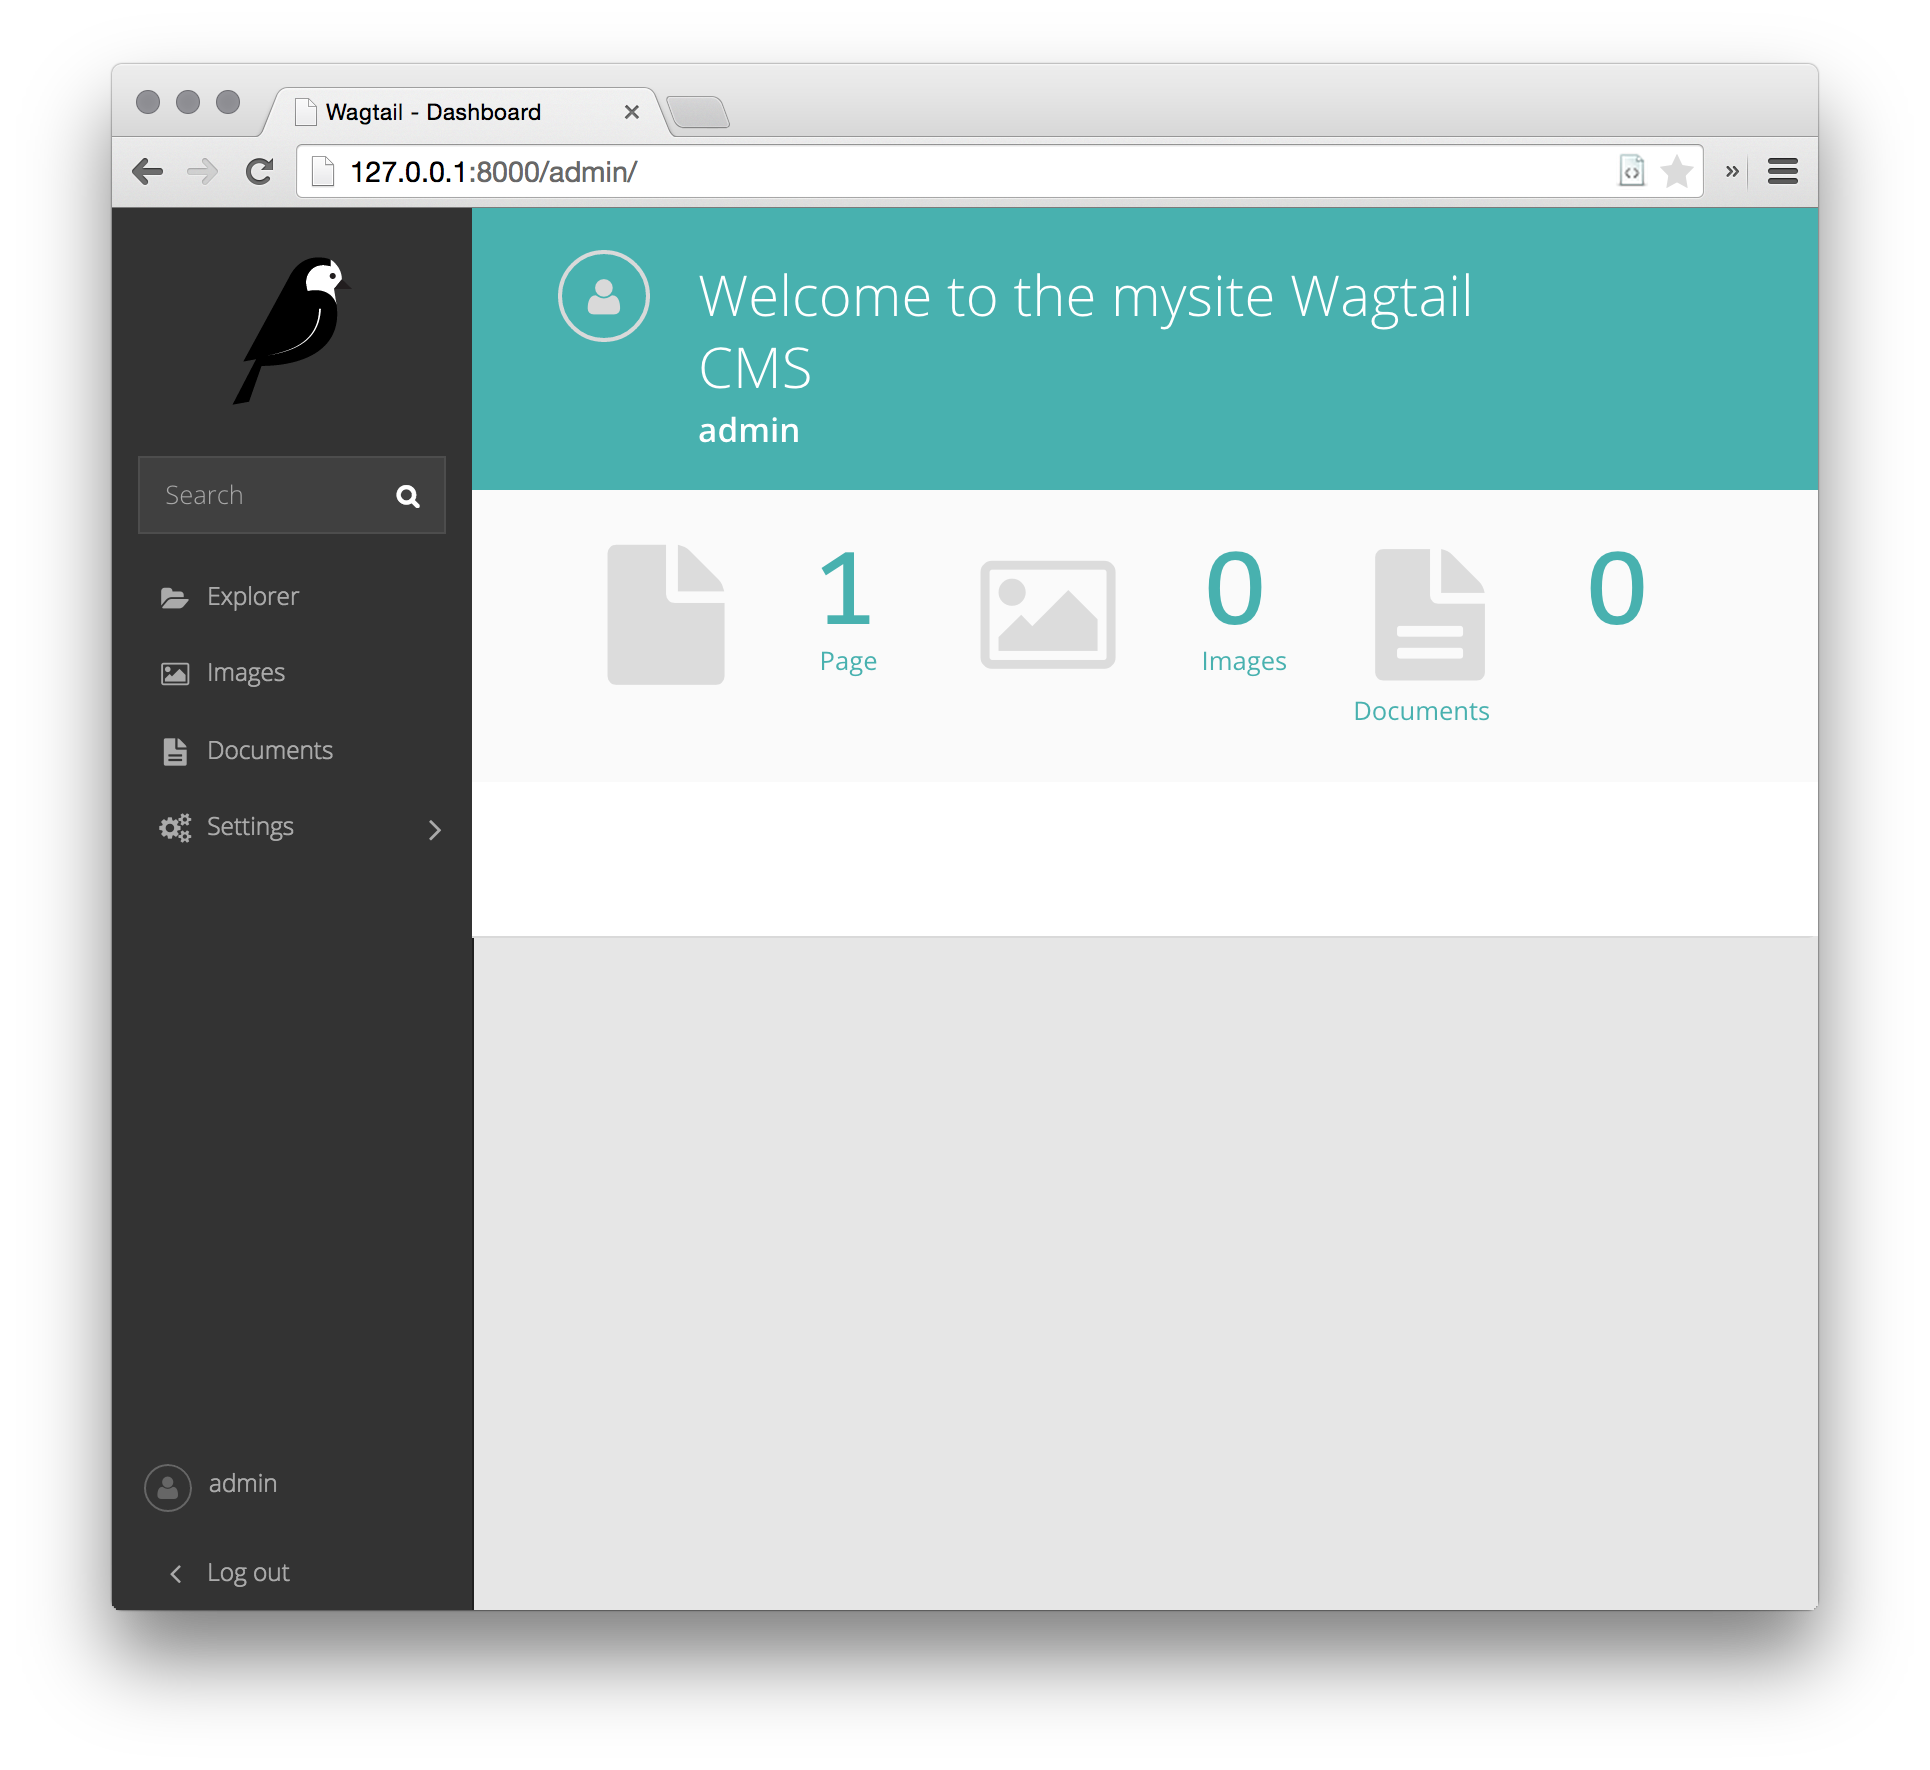
可在 http://127.0.0.1:8000/admin 处访问到管理区
对HomePage模块进行扩展
在此开箱即用的情况下,“主页”应用在models.py文件中,定义了一个空白的HomePage模型,以及与该空白模型一起的数据库迁移,由他们二者一起,创建出了一个主页,并将Wagtail配置为使用该主页。
按照下面这样对home/models.py进行编辑,将一个body字段加入到该模型中:
from django.db import modelsfrom wagtail.core.models import Pagefrom wagtail.core.fields import RichTextFieldfrom wagtail.admin.edit_handlers import FieldPanelclass HomePage(Page):body = RichTextField(blank=True)content_panels = Page.content_panels + [FieldPanel('body', classname="full"),]
body 被定义为 RichTextField,一种特殊的 Wagtail 字段。当然也可以使用任意的 Django 核心字段。content_panels 定义了功能及编辑接口的布局(content_panels define the capatibilities and the layout of the editing interface)。请参考更多有关 创建页面模型。
此时运行 ./manage.py makemigrations,接着 ./manage.py migrate 命令,来用模型改变对数据库作出更新。在每次修改了模型定义时,都 必须 运行这两个命令。
现在就可以在 Wagtail 管理区(前往 “页面”、“主页”,然后点击“编辑”)对该主页进行编辑了。在body字段输入一些文字,并发布该页面。
现在就需要将对应的页面模板加以更新,以反映对模型作出的改变。Wagtail使用一般Django模块,来渲染各种页面类型。默认他将查找一个由应用与模型名称组成、以下划线表示大写字母分开的模板文件名(比如,“主页”应用中的HomePage模型,就成为了home/home_page.html)。该模板文件可存在于由 Django的模板规则 所识别的任何位置;通常他是放在一个应用内的 templates文件夹下的。
注 可以看出 Wagtail, 以至其基础Django,采用的是 “模型-视图” 编程模型。
将 home/templates/home/home_page.html编辑为包含以下内容:
{% extends "base.html" %}{% load wagtailcore_tags %}{% block body_class %}template-homepage{% endblock %}{% block content %}{{ page.body|richtext }}{% endblock %}
关于 Wagtail 模板的标签
Wagtail template tags
Wagtail提供了一些 模板标签与过滤器,通过在模板文件顶部包含 {% load wagtailcore_tags %},装入这些标签与过滤器。
在本教程中,将用到 richtext 过滤器,来将某个 RichTextField 字段中的内容进行转写与打印出来(to escape and print the contents of a RichTextField)。
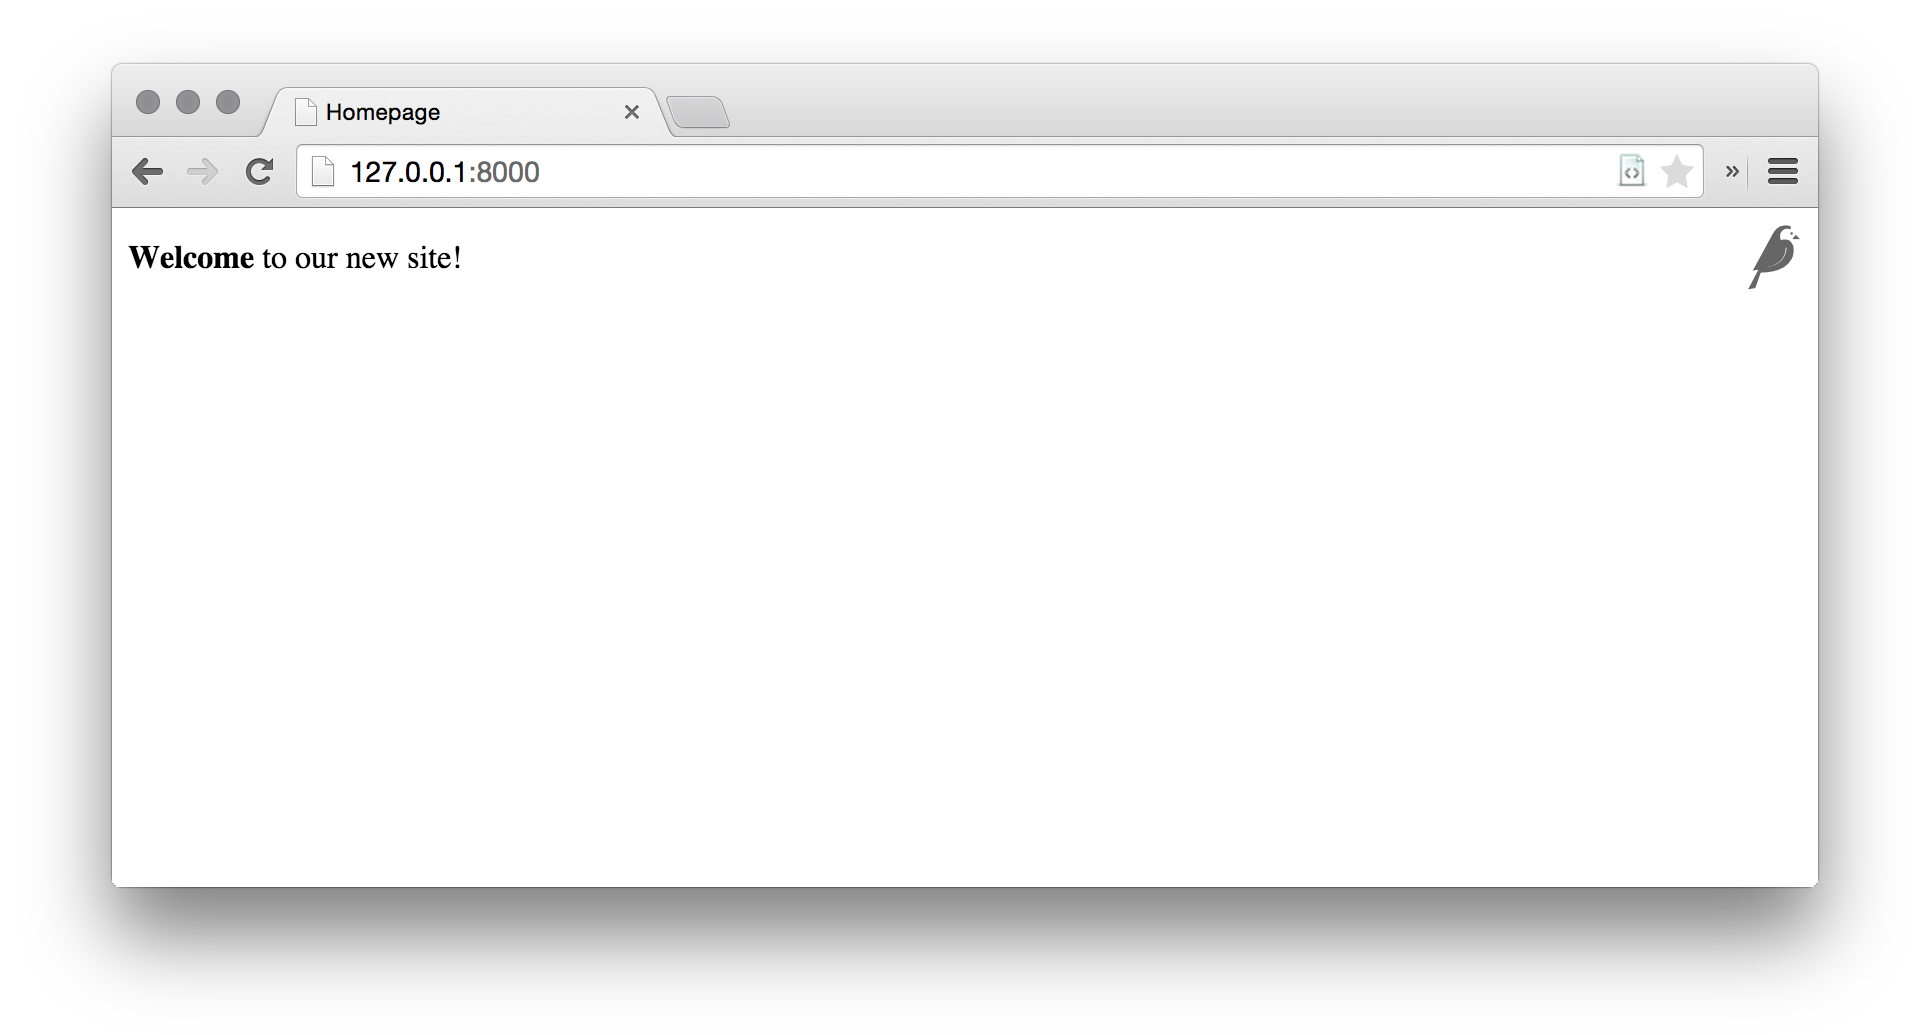
{% load wagtailcore_tags %}{{ page.body|richtext }}
这段代码将产生出:
<div class="rich-text"><p><b>Welcome</b> to our new site!</p></div>
注意: 对于用到Wagtail自带标签的所有模板,都需要包含 {% load wagtailcore_tags %}。如没有装入这些标签,那么Django将会抛出一个 TemplateSyntaxError错误。
一个简单的博客系统
现在已做好建立一个博客的准备了。运行./manage.py startapp blog命令,来在Wagtail站点中创建一个新的应用。
将此新的 blog 应用加入到 mysite/settings/base.py 文件的 INSTALLED_APPS 变量中。
博客目录与文章
Blog Index and Posts
这里以一个简单的博客目录页面开始。在blog/models.py中:
from wagtail.core.models import Pagefrom wagtail.core.fields import RichTextFieldfrom wagtail.admin.edit_handlers import FieldPanelclass BlogIndexPage(Page):intro = RichTextField(blank=True)content_panels = Page.content_panels + [FieldPanel('intro', classname="full")]
然后运行 ./manage.py makemigrations 与 ./manage.py migrate命令。
因为该模型被命名为BlogIndexPage,因此默认的模板名称(在没有覆盖的情况下)将是blog/template/blog/blog_index_page.html。使用以下内容创建出该文件:
{% extends "base.html" %}{% load wagtailcore_tags %}{% block body_class %}template-blogindexpage{% endblock %}{% block content %}<h1>{{ page.title }}</h1><div class="intro">{{ page.intro|richtext }}</div>{% for post in page.get_children %}<h2><a href="{% pageurl post %}">{{ post.title }}</a></h2>{{ post.specific.intro }}{{ post.specific.body|richtext }}{% endfor %}{% endblock %}
该模板中大部分都是熟悉的,但稍后要对get_children做一下解释。请注意pageurl这个标签,那与Django的url表情类似,不过pageurl带有一个Wagtail页面对象作为参数。
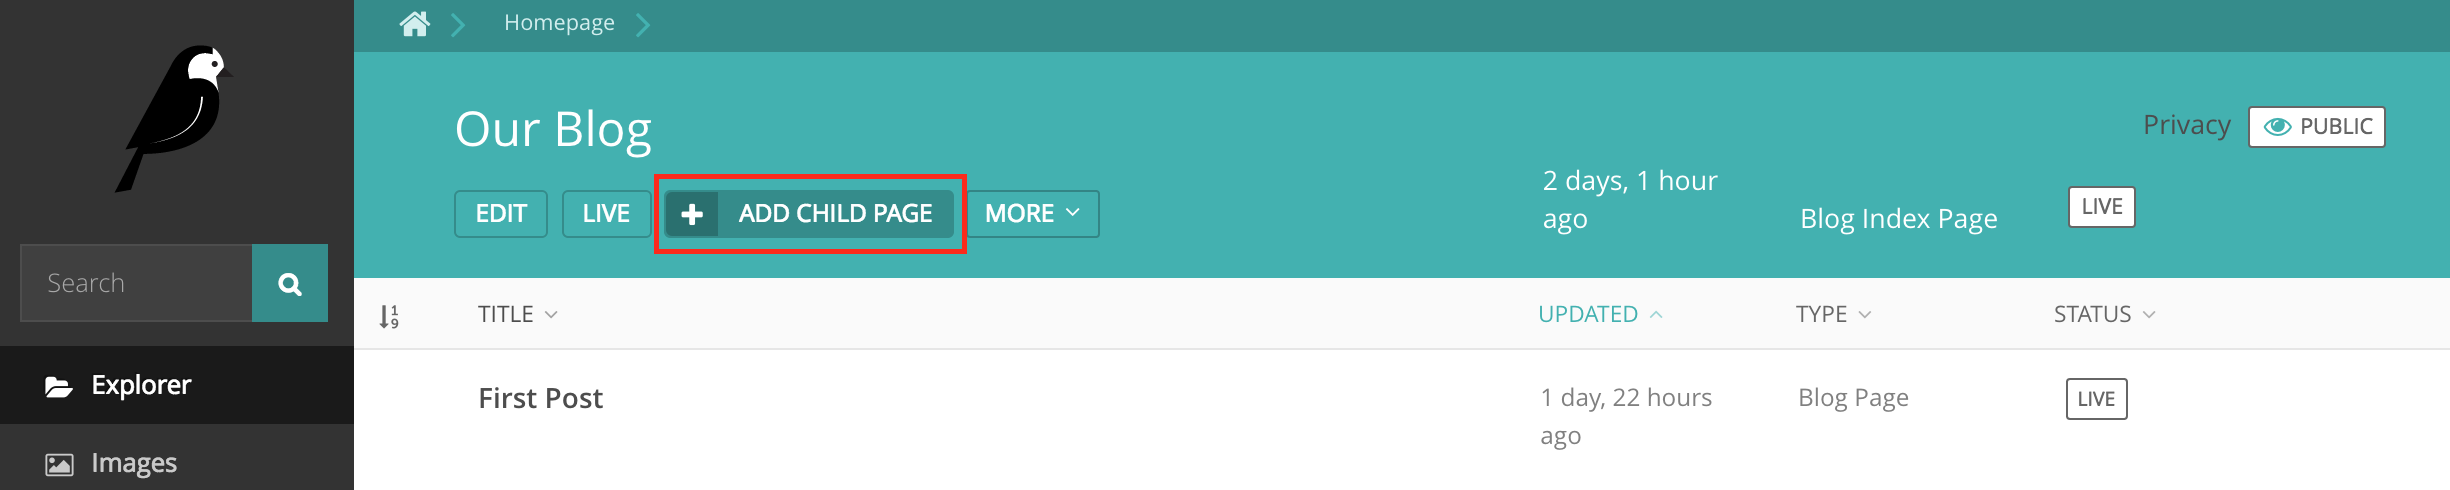
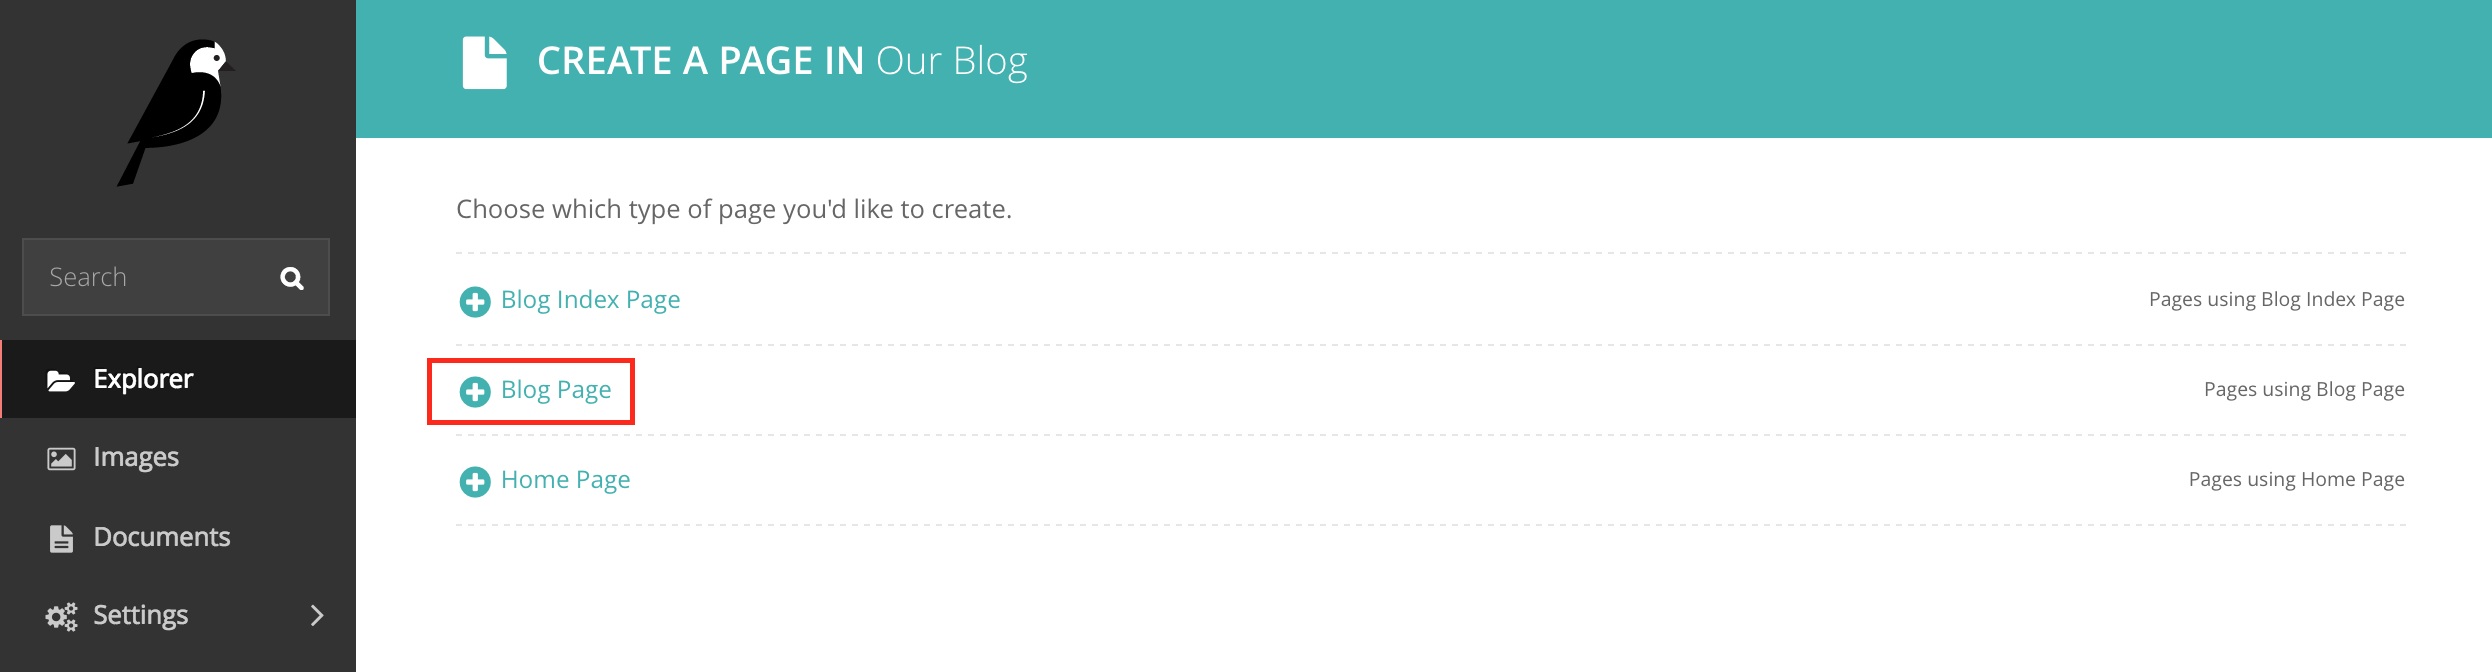
在Wagtail管理界面,创建一个BlogIndexPage,作为主页的子页面,并确保其在效果提升(Promote)分页中有着“blog”的一个slug。那么现在就应该可以在站点上访问到/blog这个URL了(请 留意 该Promote分页上的 slug blog 是如何定义页面URL的)。
现在需要一个博客文章的模型与模板了。在文件blog/models.py中:
from django.db import modelsfrom wagtail.core.models import Pagefrom wagtail.core.fields import RichTextFieldfrom wagtail.admin.edit_handlers import FieldPanelfrom wagtail.search import indexclass BlogIndexPage(Page):intro = RichTextField(blank=True)content_panels = Page.content_panels + [FieldPanel('intro', classname="full")]# 保留 BlogIndexPage的定义,并加入:class BlogPage(Page):date = models.DateField("发布日期")intro = models.CharField(max_length=250)body = RichTextField(blank=True)search_fields = Page.search_fields + [index.SearchField('intro'),index.SearchField('body'),]content_panels = Page.content_panels + [FieldPanel('date'),FieldPanel('intro'),FieldPanel('body', classname="full"),]
现在运行 python manage.py makemigrations与python manage.py migrate命令。
在 blog/templates/blog/blog_page.html创建一个模板:
{% extents "base.html" %}{% load wagtailcore_tags %}{% block body_class %}template-blogpage{% endblock %}{% block content %}<h1>{{ page.title }}</h1><p class="meta">{{ page.date }}</p><div class="intro">{{ page.intro }}</div>{{ page.body|richtext }}<p><a href="{{ page.get_parent.url }}">返回博客首页</a></p>{% endblock %}
请注意这里使用了Wagtail的内建get_parent()方法,来获取此文章所对应博客首页的URL。
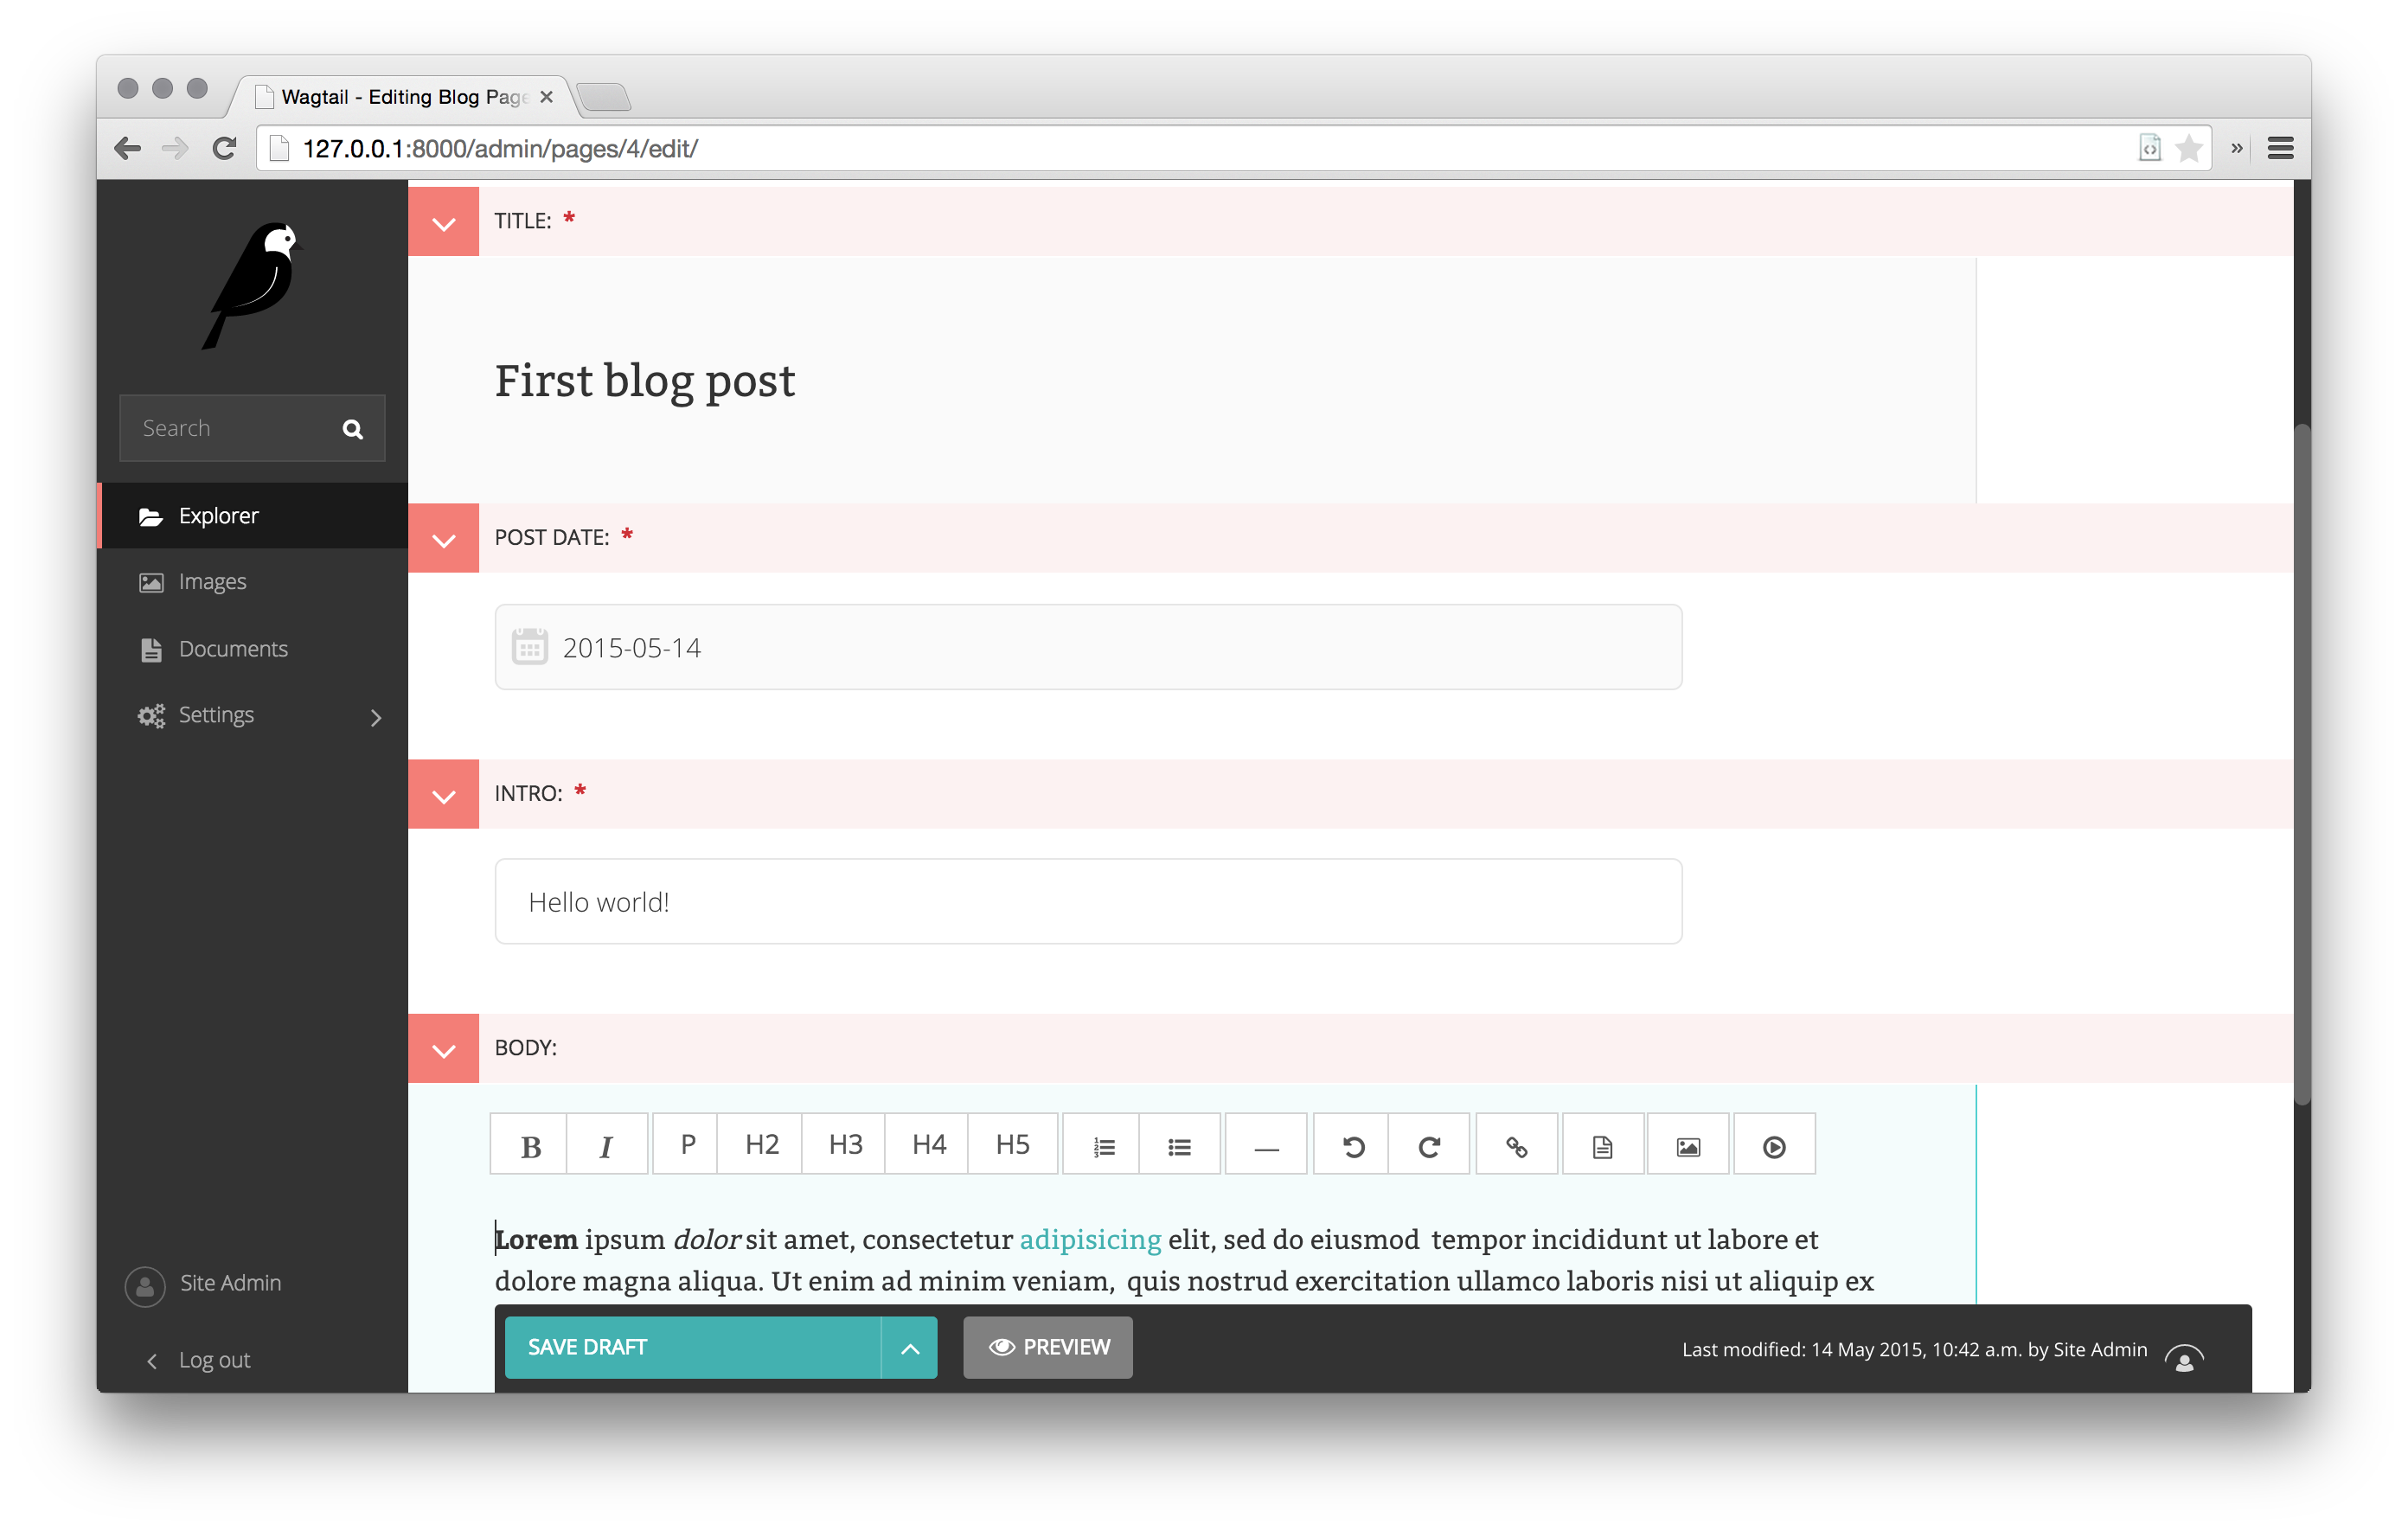
现在创建一些作为BlogIndexPage的子页面的博客文章出来。在建立这些博客文章是一定要选择Blog Page类型。
Wagtail将给予你对不同父内容类型下,可建立何种内容的完全掌控的能力(Wagtail gives you full control over what kinds of content can be created under various parent content types)。默认所有页面类型,都可以是任意其他页面类型的子页面。
此时就有了一个可初步工作的博客系统了。在/blogURL处访问该博客,将看到如下页面:
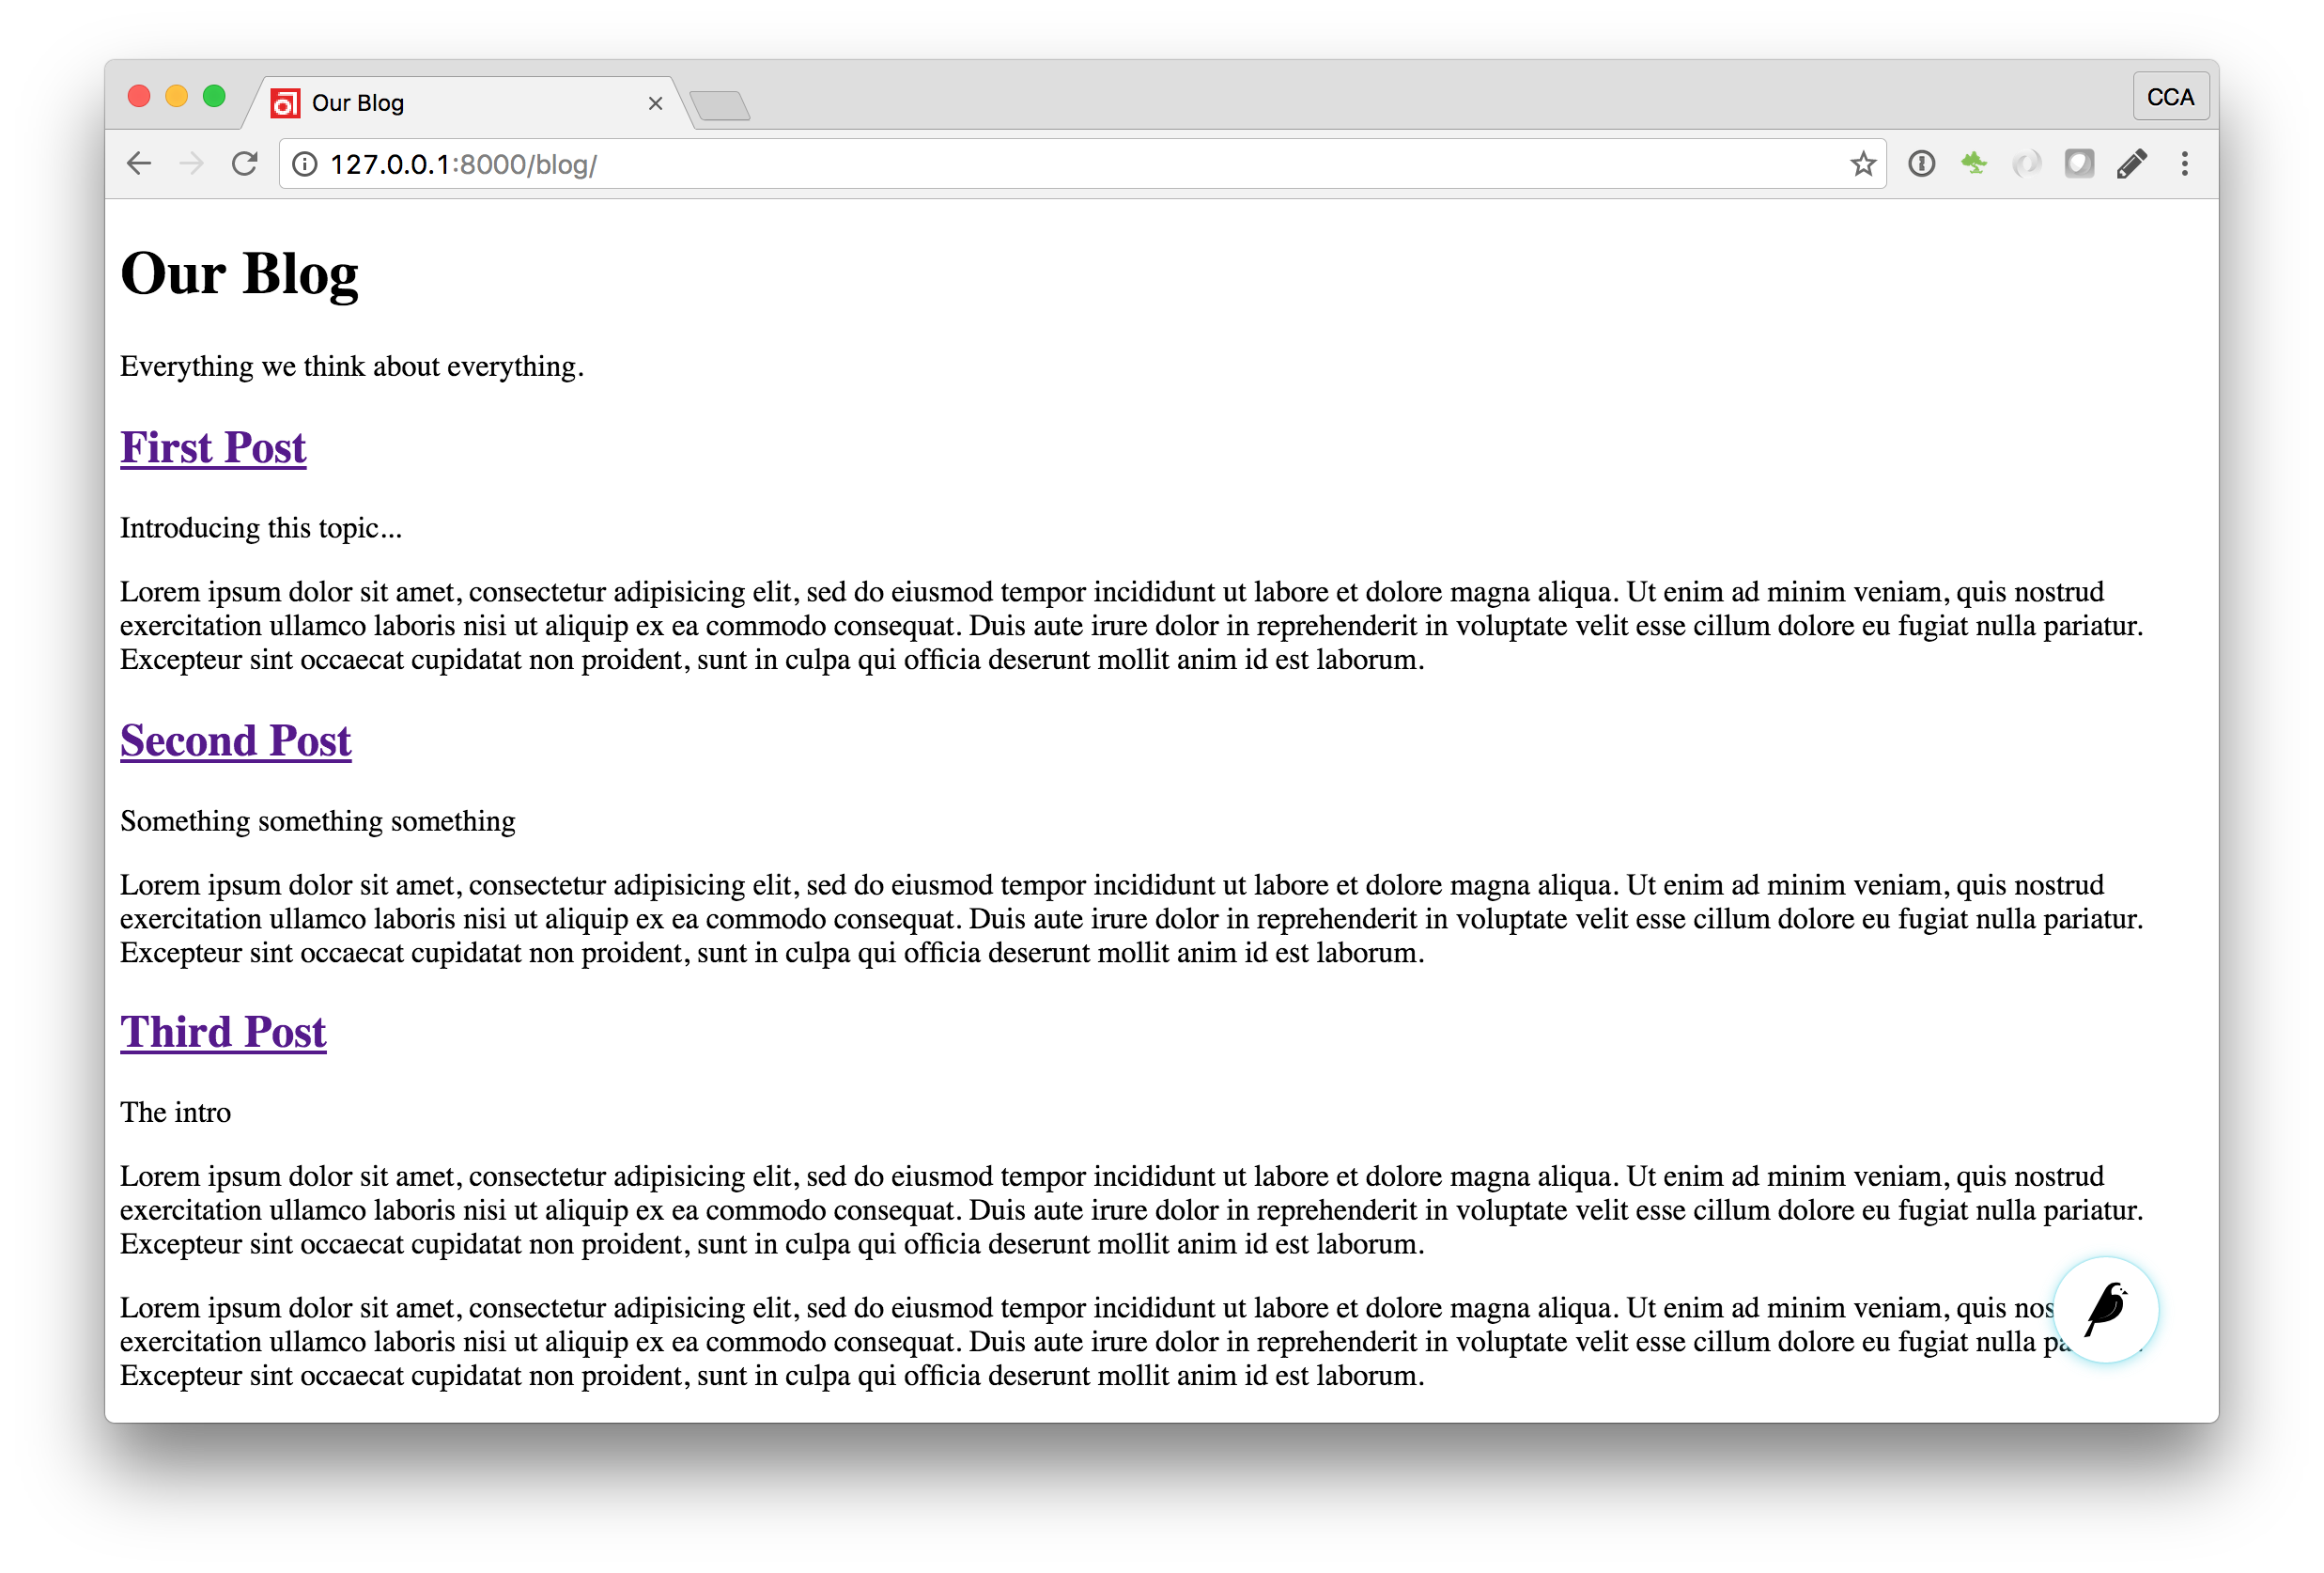
文章标题应是链接到文章页面的,同时在每个文章页面的底部,都应有一个返回到博客主页的链接。
关于父页面与子页面
Parents and Children
在Wagtail中进行的大部分工作,都是围绕由众多节点与叶子所构成的“树”结构的层次概念开展的(参见理论,Much of the work you’ll be doing in Wagtail revolves around the concept of hierarchical “tree” structures consisting of nodes and leaves)。在本例中,BlogIndexPage是一个“节点”,同时单个的BlogPage实例,就是“叶子”了。
这里再来从另一个角度看看blog_index_page.html的代码:
{% for post in page.get_children %}<h2><a href="{% pageurl post %}">{{ post.title }}</a></h2>{{ post.specific.intro }}{{ post.specific.body|richtext }}{% endfor %}
在Wagtail中的每个“页面”,都可以从他在这个层次体系中的位置,呼出他的父页面或所有子页面(Every “page” in Wagtail can call out to its parent or children from its own position in the hierarchy)。但这里又为何要指定post.specific.into,而不是post.intro呢?这就必须要从定义模型的方式说起了:
class BlogPage(Page):
方法get_children()给出了一个Page基类的实例清单。而在打算引用这些继承了该基类的实例属性时,Wagtail提供了specific方法,来获取到真实的BlogPage记录(the get_children() method gets us a list of instances of the Page base class. When we want ot reference properties of the instances that inherit from the base class, Wagtail provides the specific method that retrieves the actual BlogPage record)。尽管title字段在基类Page模块上是存在的,但intro字段却只存在与BlogPage模型上,因此就需要.specific方法,来访问该字段。
这里可使用Django的with标签,来讲模板代码加以优化:
{% for post in page.get_children %}{% with post=post.specific %}<h2><a href="{% pageurl post %}">{{ post.title }}</a></h2>{{ post.intro }}{{ post.body|richtext }}{% endwith %}{% endfor %}
在后期编写更为定制化的Wagtail代码时,将发现一整套的QuerySet修饰符(a whole set of QuerySet modifiers),来帮助对层次结构进行导航。
# 给定一个页面对象`somepage`:MyModel.objects.descendant_of(somepage)child_of(somepage) / not_child_of(somepage)ancestor_of(somepage) / not_ancestor_of(somepage)parent_of(somepage) / not_parent_of(somepage)sibling_of(somepage) / not_sibling_of(somepage)# ... and ...somepage.get_children()somepage.get_ancestors()somepage.get_descenants()somepage.get_siblings()
有关此方面的更多信息,请参阅:页面的QuerySet参考
覆写上下文
Overriding Context
在上面的博客首页视图中存在一些问题:
- 博客应该以 相反 的时间顺序显示的
- 要确保只显示那些已发布的内容
要实现这两个目的,就要不光是在模板中抓取博客目录页面的子页面了。而要对模型定义中的QuerySet进行修改。Wagtail通过覆写get_context()方法,而令到这一点成为可能。像下面这样修改BlogIndexPage模型:
class BlogIndexPage(Page):intro = RichTextField(blank=True)def get_context(self, request):# 将上下文更新为仅包含发布了的博客文章,并以 时间逆序 进行排序context = super().get_context(request)blogpages = self.get_children().live().order_by('-first_publised_at')context['blogpages'] = blogpagesreturn context
这里所完成的所有工作,就是先获取原始上下文,然后创建一个定制的QuerySet,将其加入到获取的上下文中,最后将修改后的上下文返回给视图。为此还需要对blog_index_page.html模板稍作改变。做以下修改:
将 {% for post in page.get_children %} 修改为:{% for post in blogpages %}
现在尝试加入一篇未发布的文章 — 他将不会在博客目录页面出现。同时原有的文章将一最近发布在前的方式进行排序了。
图片
下面将把图片集附加到博客文章这一功能加入进来。尽管可以通过简单地将图片插入到body富文本字段中,但通过将图片集作为一种新的专用对象类型,在数据库中建立出来,然后有诸多优势 — 以这种方式的话,就可以完全控制到这些图片在模板中的布局与样式,而不是必须在富文本字段中以特定方式对他们进行布置了。同时这样做也可以在独立于博客文本的其他地方,比如在博客目录页面显示一个缩略图的方式,使用这些图片。
将一个新的BlogPageGalleryImage模型,加入到models.py文件中:
from django.db import models# 新加入了 ParentalKey、Orderable、InlinePanel与ImageChooserPanel 的导入from modelcluster.fields import ParentalKeyfrom wagtail.core.models import Page, Orderablefrom wagtail.core.fields import RichTextFieldfrom wagtail.admin.edit_handlers import FieldPanel, InlinePanelfrom wagtail.images.edit_handlers import ImageChooserPanelfrom wagtail.search import indexclass BlogIndexPage(Page):intro = RichTextField(blank=True)def get_context(self, request):# 将上下文更新为仅包含发布了的博客文章,并以 时间逆序 进行排序context = super().get_context(request)blogpages = self.get_children().live().order_by('-first_published_at')context['blogpages'] = blogpagesreturn contextcontent_panels = Page.content_panels + [FieldPanel('intro', classname="full")]# 保留 BlogIndexPage的定义,并加入:class BlogPage(Page):date = models.DateField("发布日期")intro = models.CharField(max_length=250)body = RichTextField(blank=True)search_fields = Page.search_fields + [index.SearchField('intro'),index.SearchField('body'),]content_panels = Page.content_panels + [FieldPanel('date'),FieldPanel('intro'),FieldPanel('body', classname="full"),InlinePanel('gallery_images', label="图片"),]class BlogPageGalleryImage(Orderable):page = ParentalKey(BlogPage, on_delete=models.CASCADE, related_name="gallery_images")image = models.ForeignKey('wagtailimages.Image', on_delete=models.CASCADE, related_name="+")caption = models.CharField(blank=True, max_length=250)panels = [ImageChooserPanel('image'),FieldPanel('caption'),]
此时运行 python manage.py makemigrations 与 python manage.py migratte。
上面的代码中涉及到一些新的概念,下面就一起来看看他们:
BlogPageGalleryImage模型继承自Orderable,从而将字段sort_order加入到模型中了,以对图片集中的图片顺序进行跟踪。
到BlogPage模型的ParentalKey,则是将这些图片附加到某个特定页面。ParentalKey的工作方式与ForeignKey类似,不过同时将BlogPageGalleryImage定义为BlogPage模型的“子”模型,因此他就成为了页面的一个基础部分,可以对其进行修改提交与修订历史追踪等操作(A ParentalKey works similarly to a ForeignKey, but also defines BlogPageGalleryImage as a “child” of the BlogPage model, so that it’s treated as a fundamental part of the page in operations like submitting for moderation, and tracking revision history)。
image是到Wagtail内建的Image模型的一个FoerignKey, 图片本身是在Image模型中存储的。同时Image模型有着自己的专用面板类型(a dedicated panel type),ImageChooserPanel,该面板类型提供了一个用于选取某个既有图片或上传一个新图片的弹出界面。依此方式,就允许某个图片可以存在于多个图片集中 — 从而有效地创建了一直页面与图片之间的多对多关系。
在该外键上指定on_delete=models.CASCADE,就意味着当某个图片从系统中删除时,其所在图片集也会被删除。(但在某些情况下,可能让该条目留存下来更好 — 比如在某个“our staff”页面包含了一个有着头像的人员清单,而其中一张头像被删除了,那么就宁愿将那个人在没有头像图片的情况下保留下来。在次情况下,就要把此外键设置为blank=True, null=True, on_delete=models.SET_NULL)。
最后,将InlinePanel加入到BlogPage.content_panels中,从而领导该图片集在BlogPage的编辑界面上可用。
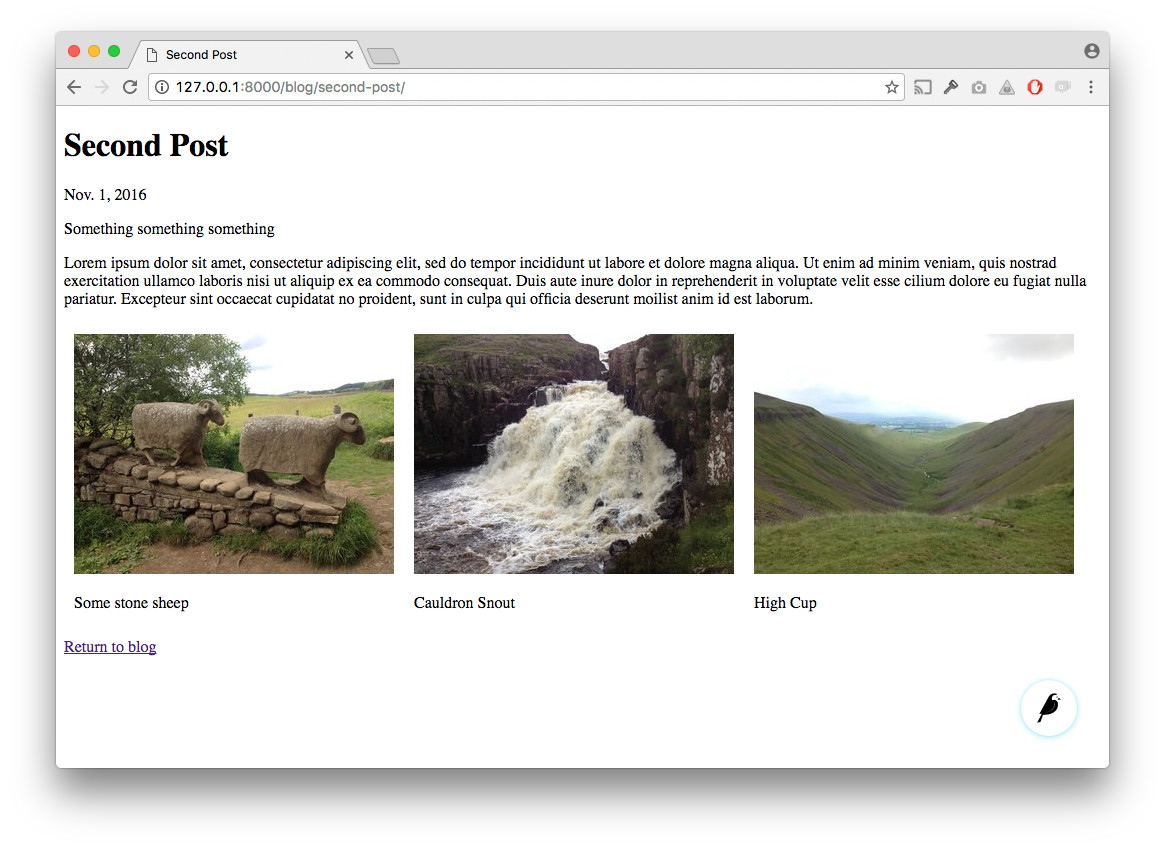
对博客页面进行调整,以包含这些图片:
{% extends "base.html" %}{% load wagtailcore_tags wagtailimages_tags %}{% block body_class %}template-blogpage{% endblock %}{% block content %}<h1>{{ page.title }}</h1><p class="meta">{{ page.date }}</p><div class="intro">{{ page.intro }}</div>{{ page.body|richtext }}<section>{% for item in page.gallery_images.all %}<div style="display: inline-block; margin: 10px">{% image item.image fill-320x240 %}<p>{{ item.caption }}</p></div>{% endfor %}</section><p><a href="{{ page.get_parent.url }}">返回博客首页</a></p>{% endblock %}
这里使用 {% image %} 标签(此标签存在于wagtailimages_tags库中,在该模板顶部有导入该库),来将某个<img>元素,以file-320x240为参数而表明该图片需要缩放及裁剪,以填充到一个320x240的矩形中,而进行插入。有关在模板中图片的使用的更多信息,请参阅文档。
因为这里的图片集图片,都是有着其自身地位的数据库对象,所以可以对其进行查询以及独立于博客文章主体的重复使用(since our gallery images are database objects in their own right, we can query and re-use them independently of the blog post body)。下面定义了一个main_image方法,将返回图片集的第一个条目(或在没有没有图片集时返回None):
class BlogPage(Page):date = models.DateField("发布日期")intro = models.CharField(max_length=250)body = RichTextField(blank=True)def main_image(self):gallery_item = self.gallery_images.first()if gallery_item:return gallery_item.imageelse:return Nonesearch_fields = Page.search_fields + [index.SearchField('intro'),index.SearchField('body'),]content_panels = Page.content_panels + [FieldPanel('date'),FieldPanel('intro'),FieldPanel('body', classname="full"),InlinePanel('gallery_images', label="图片"),]
此方法现在已对模板可用了。现在对blog_index_page.html进行更新,以将博客文章主图作为每篇文章旁边的一个缩略图,而包含进来:
{% extends "base.html" %}{% load wagtailcore_tags wagtailimages_tags %}{% block body_class %}template-blogindexpage{% endblock %}{% block content %}<h1>{{ page.title }}</h1><div class="intro">{{ page.intro|richtext }}</div>{% for post in blogpages %}{% with post=post.specific %}<h2><a href="{% pageurl post %}">{{ post.title }}</a></h2>{% with post.main_image as main_image %}{% if main_image %}{% image main_image fill-160x100 %}{% endif %}{% endwith %}{{ post.intro }}{% endwith %}{% endfor %}{% endblock %}
将文章打上标签
Tagging Posts
现在要加入一项可以让文章编辑给他们的文章“打上标签”的功能,如此读者就可以查看到比如“自行车”相关的所有内容。要实现次特性,就需要调用与Wagtail打包在一起的标签系统(the tagging system bundled with Wagtail),将该标签系统附加到模型BlogPage与内容面板,并在博客文章模板上渲染出带有链接的标签。不言而喻,这里同样需要一个能用的特定于标签URL视图(Of course, we’ll need a working tag-specific URL view as well)。
首先,再一次对models.py进行修改:
from django.db import models# 新加入了 ParentalKey、Orderable、InlinePanel与ImageChooserPanel 的导入# 新加入了 ClusterTaggableManager、TaggedItemBase与MultiFieldPanelfrom modelcluster.fields import ParentalKeyfrom modelcluster.contrib.taggit import ClusterTaggableManagerfrom taggit.models import TaggedItemBasefrom wagtail.core.models import Page, Orderablefrom wagtail.core.fields import RichTextFieldfrom wagtail.admin.edit_handlers import FieldPanel, InlinePanel, MultiFieldPanelfrom wagtail.images.edit_handlers import ImageChooserPanelfrom wagtail.search import index# ...(保持BlogIndexPage的定义不变)class BlogIndexPage(Page):intro = RichTextField(blank=True)def get_context(self, request):# 将上下文更新为仅包含发布了的博客文章,并以 时间逆序 进行排序context = super().get_context(request)blogpages = self.get_children().live().order_by('-first_published_at')context['blogpages'] = blogpagesreturn contextcontent_panels = Page.content_panels + [FieldPanel('intro', classname="full")]class BlogPageTag(TaggedItemBase):content_object = ParentalKey('BlogPage',related_name = 'tagged_items',on_delete = models.CASCADE)# 保留 BlogIndexPage的定义,并加入:class BlogPage(Page):date = models.DateField("发布日期")intro = models.CharField(max_length=250)body = RichTextField(blank=True)tags = ClusterTaggableManager(through=BlogPageTag, blank=True)# ... (保留 main_image 与 search_fields 的定义)def main_image(self):gallery_item = self.gallery_images.first()if gallery_item:return gallery_item.imageelse:return Nonesearch_fields = Page.search_fields + [index.SearchField('intro'),index.SearchField('body'),]content_panels = Page.content_panels + [MultiFieldPanel([FieldPanel('date'),FieldPanel('tags'),], heading="文章信息"),FieldPanel('intro'),FieldPanel('body', classname="full"),InlinePanel('gallery_images', label="图片"),]class BlogPageGalleryImage(Orderable):page = ParentalKey(BlogPage, on_delete=models.CASCADE, related_name="gallery_images")image = models.ForeignKey('wagtailimages.Image', on_delete=models.CASCADE, related_name="+")caption = models.CharField(blank=True, max_length=250)panels = [ImageChooserPanel('image'),FieldPanel('caption'),]
此时运行 python manage.py makemigrations 与 python manage.py migrate。
请注意这里新的modelcluster与taggit导入,及新的BlogPageTag模型的加入,以及在BlogPage模型上加入的tags字段。这里还利用了BlogPage模型上conent_panels中的MultiFieldPanel,来把日期与标签字段放在一起,从而提升了可读性。
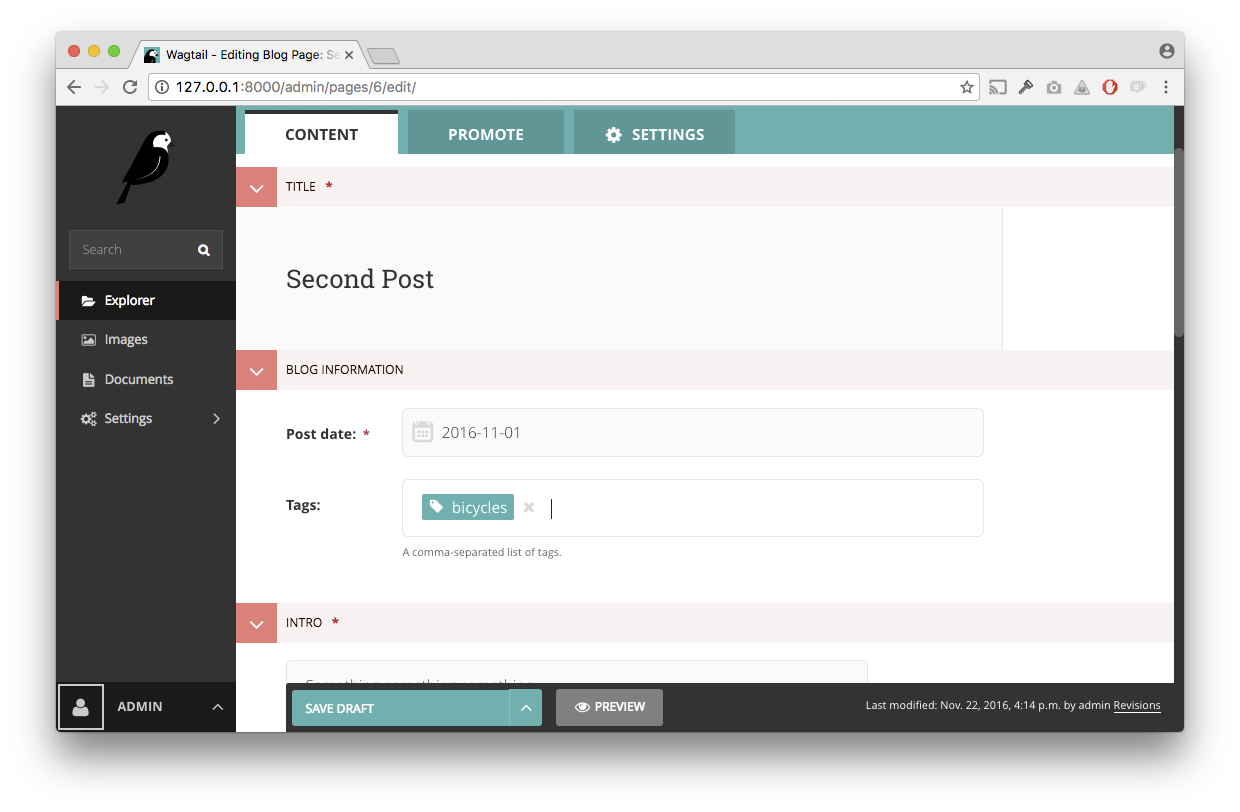
对BlogPage实例之一进行编辑,那么现在就可以对文章打标签了:
而要在BlogPage上渲染出标签,就要将下面的代码加入到blog_page.html:
<section>{% if page.tags.all.count %}<div class="tags"><h3>标签:</h3>{% for tag in page.tags.all %}<a href="{% slugurl 'tags' %}?tag={{ tag }}"><button type="button">{{ tag }}</button></a>{% endfor %}</div>{% endif %}</section>
请注意这里所链接到的页面,使用的是内建的slugurl而非早先使用的pageurl。二者的区别在于,slugurl取的是某个页面的别名(slug,来自“Promote”分页)作为参数。而pageurl则更为常用,因为他更为明确,且避免了额外的数据库查询。但在该循环的具体情况下,页面对象并不是已可用的,因此这里倒退使用了更少用到的 slugurl 标签(the Page object isn’t readily available, so we fall back on the less-preferred slugurl tag)。
现在访问某个带有标签词的博客文章,就会看到在页面底部有了一些带有链接的按钮了 — 每个按钮对应了一个标签词。但在点击某个按钮是将给出 404 错误,这是因为尚未定义一个“tags”视图的原因。将下面的代码加入到 models.py:
class BlogTagIndexPage(Page):def get_context(self, request):# 以标签词进行过滤tag = request.GET.get('tag')blogpages = BlogPage.objects.filter(tags__name=tag)# 更新模板上下文context = super().get_context(request)context['blogpages'] = blogpagesreturn context
请注意此基于页面的模型,并没有定义他自身的字段。就算没有字段,其对Page基类的子类化,也令到其成为Wagtail生态的一部分了。因此就可以在管理界面给他一个标题与URL,同时也就可以通过从其get_context()方法返回一个QuerySet,而对其内容进行操作(note that this Page-based model defines no fields of its own. Even without fields, subclassing Page makes it a part of the Wagtail ecosystem, so that you can give it a title and URL in the admin, and so that you can manipulate its contents by returning a QuerySet from its get_context() method)。
将此改变提交到数据库,然后在管理界面创建一个新的BlogTagIndexPage。差不多要将此新的页面/试图,作为站点主页的一个子页面,而与博客首页并排进行创建。在Promote分栏给他一个tags的别名(slug)。
现在去访问/tags的话,Django就会告诉你自己已然知道的东西:你需要创建一个blog/blog_tag_index_page.html的模板:
注 实际仍然要放在
blog/templates/blog/目录下。
TemplateDoesNotExist at /tags/blog/blog_tag_index_page.htmlRequest Method: GETRequest URL: http://localhost:8000/tags/Django Version: 2.1.8Exception Type: TemplateDoesNotExistException Value: blog/blog_tag_index_page.htmlException Location: /home/peng/.venv/lib/python3.6/site-packages/django/template/loader.py in get_template, line 19Python Executable: /home/peng/.venv/bin/pythonPython Version: 3.6.7Python Path: ['/home/peng/wagtail-demo/demo','/usr/lib/python36.zip','/usr/lib/python3.6','/usr/lib/python3.6/lib-dynload','/home/peng/.venv/lib/python3.6/site-packages']Server time: Wed, 10 Apr 2019 00:43:10 +0000
{% extends "base.html" %}{% load wagtailcore_tags %}{% block content %}{% if request.GET.tag|length %}<h4>显示标签为 “{{ request.GET.tag }}” 页面</h4>{% endif %}{% for blogpage in blogpages %}<p><strong><a href="{% pageurl blogpage %}">{{ blogpage.title }}</a></strong><br /><small>修订于:{{ blogpage.latest_revision_created_at }}</small><br />{% if blogpage.author %}<p>作者: {{ blogpage.author.profile }}</p>{% endif %}</p>{% empty %}未发现带有该标签词的文章。{% endfor %}{% endblock %}
注 管理界面创建的页面
BlogTagIndexPage为什么不是一个新的、如同blog一样的应用?为什么BlogTagIndexPage对应的模板仍然要放在blog/templates/blog目录下?这是因为BlogTagIndexPage是定义在blog/models.py中的,因此只能将其视为应用blog的一部分,而非一个新的应用,同时其模板/视图也应位于blog/templates/blog目录下。
这里调用了Page模型上内建的 latest_revision_created_at 字段 — 要知道这总是可用的。
目前尚未给BlogPage模型加上author字段,也还没有博客文章作者的个人资料模型 — 这些将留给读者作为练习。
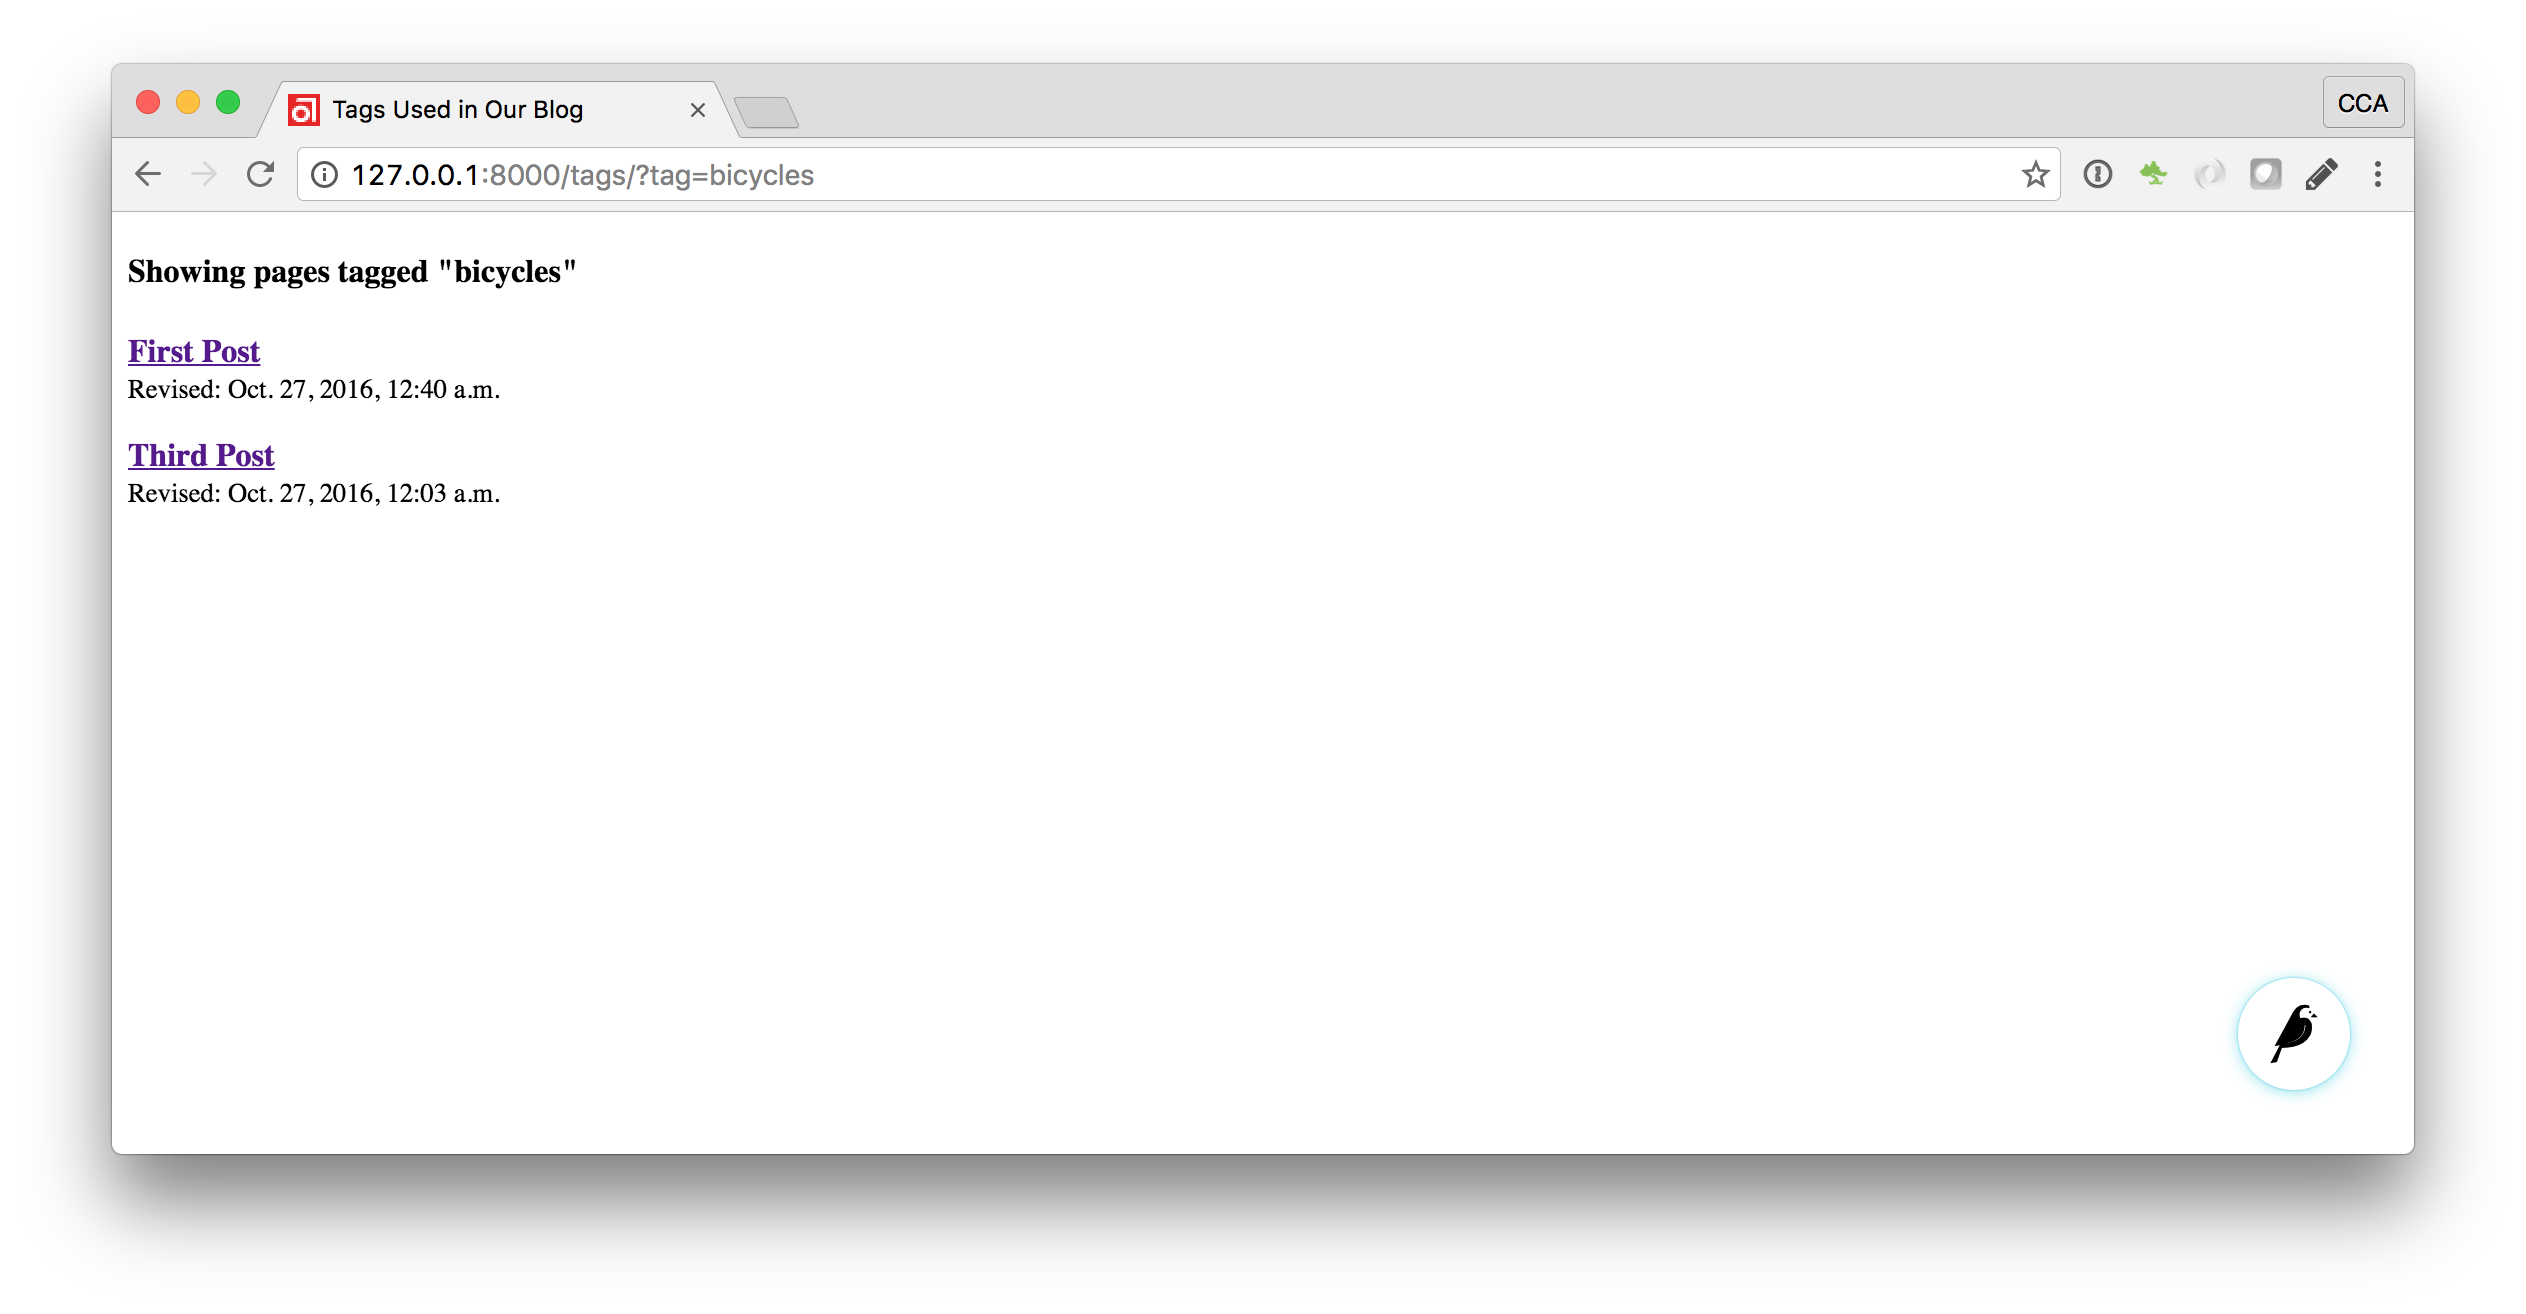
现在点击某个博客文章底部的标签词按钮,就能够渲染出类似于下面的页面了:
分类
Categories
下面类给这里的博客加上分类系统(a category system)。与标签特性中某篇文章的作者可以简单地通过在页面上使用某个标签词,而将该标签词引入到页面既有标签词中有所不同,分类特性将会是一个由站点所有者经由管理界面的某个单独区域管理的固定清单(categories will be a fixed list, managed by the site owner through a separate area of the admin interface)。
那么首先就要定义一个 BlogCategory 模型。某个类别不是有着自身地位的页面,因此要将其定义为标准的Django models.Model,而非从Page基类加以继承。Wagtail引入了“内容片(Snippets)”这一概念,专门用于那些需要通过管理界面进行管理,但又并不是作为页面树本身的组成部分而存在的,可重用小块内容;那么这类模型就可以通过@register_snippet装饰器,而作为内容片进行注册。到目前位置在页面上用到的所有字段类型,都可以用在内容片上 — 下面将给予每个类别一个图标和名称。将下面的代码加入到 blog/models.py:
# 新加入 Wagtail 的 @register_snippet 装饰器,有关 Python 装饰器的更多信息,请# 参考:[使用装饰器](https://github.com/gnu4cn/python-advance-book/blob/master/01-effective-and-fine-python-code.md#%E4%BD%BF%E7%94%A8%E8%A3%85%E9%A5%B0%E5%99%A8)from wagtail.snippets.models import register_snippet@register_snippetclass BlogCategory(model.Models):name = models.CharField(max_length=250)icon = models.ForeignKey('wagtailimages.Image', null=True, blank=True,on_delete=models.SET_NULL, related_name="+")panels = [FieldPanel('name'),ImageChooserPanel('icon'),]def __str__(self):return self.nameclass Meta:verbose_name_plural = '博客类别'
注意 请注意这里使用了
panels而非content_panels— 因为内容块一般不需要诸如别名(slug)或发布日期这类字段,所以他们的编辑界面就不会划分为标准的单独conent/promote/settings这样的分页了,且因此就不需要区分content panels与promote panels了
将此修改提交到数据库,并经由已经在管理菜单的“Snippets(内容块)”区,创建一些分类。
现在就可以将类别作为一个多对多关系字段,加入到 BlogPage 模型了。在此字段上使用的字段类型,就是ParentalManyToManyField — 该字段类型,是标准的 Django ManyToManyField 字段类型的一个变种,Django的ManyToManyField确保所选的对象,与修订历史中的页面记录相对,已在数据库中正确存储,这与一对多关系中使用ParentalKey替换ForeignKey很类似。
# 新加入了 `forms` 与 `ParentalManyToManyField`from django.db import modelsfrom django import forms# 新加入了 ParentalKey、Orderable、InlinePanel与ImageChooserPanel 的导入# 新加入了 ClusterTaggableManager、TaggedItemBase与MultiFieldPanelfrom modelcluster.fields import ParentalKey, ParentalManyToManyFieldfrom modelcluster.contrib.taggit import ClusterTaggableManagerfrom taggit.models import TaggedItemBase# ...class BlogPage(Page):date = models.DateField("发布日期")intro = models.CharField(max_length=250)body = RichTextField(blank=True)tags = ClusterTaggableManager(through=BlogPageTag, blank=True)categories = ParentalManyToManyField('blog.BlogCategory', blank=True)# ... (保留 main_image 与 search_fields 的定义)def main_image(self):gallery_item = self.gallery_images.first()if gallery_item:return gallery_item.imageelse:return Nonesearch_fields = Page.search_fields + [index.SearchField('intro'),index.SearchField('body'),]content_panels = Page.content_panels + [MultiFieldPanel([FieldPanel('date'),FieldPanel('tags'),FieldPanel('categories', widget=forms.CheckboxSelectMultiple),], heading="文章信息"),FieldPanel('intro'),FieldPanel('body', classname="full"),InlinePanel('gallery_images', label="图片"),]
这里在FieldPanel 定义上利用了 widget 关键字,用来指定一个基于复选框的小部件,而不是默认的多选框,因为小部件通常被认为更为用户友好。
最后,对blog_page.html模板加以更新,让他显示出类别:
{% with categories=page.categories.all %}{% if categories %}<h3>发表在:</h3><ul>{% for category in categories %}<li style="display: inline">{% image category.icon fill-32x32 style="vertical-align: middle" %}{{ category.name }}</li>{% endfor %}</ul>{% endif %}{% endwith %}

下一步
- 阅读Wagtail 使用手册 以及 参考 文档
- 学习如何使用 StreamField 来创建自由格式的页面内容
- 浏览 高级特性 部分并阅读 第三方教程

若有收获,就点个赞吧
0 人点赞
